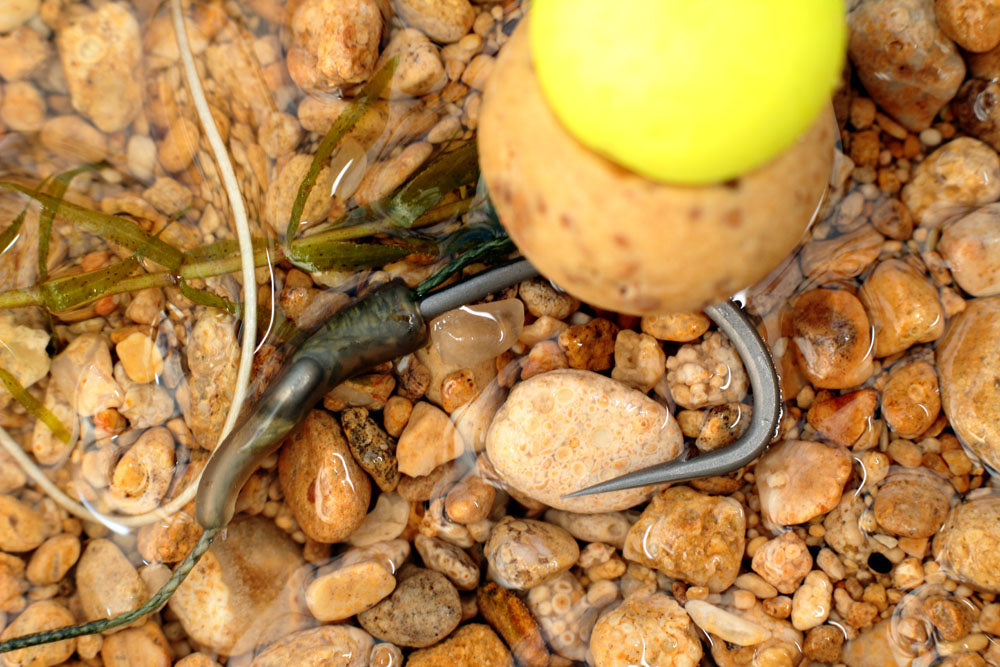
The Slip D rig is perfectly suited to using with a balanced bottom bait or wafter, the ‘D’ formed with supple braid on the back of the hook shank allows for great separation between the hook and hookbait making it a very tricky rig for carp to deal with.
What you'll need to tie the Slip D rig:
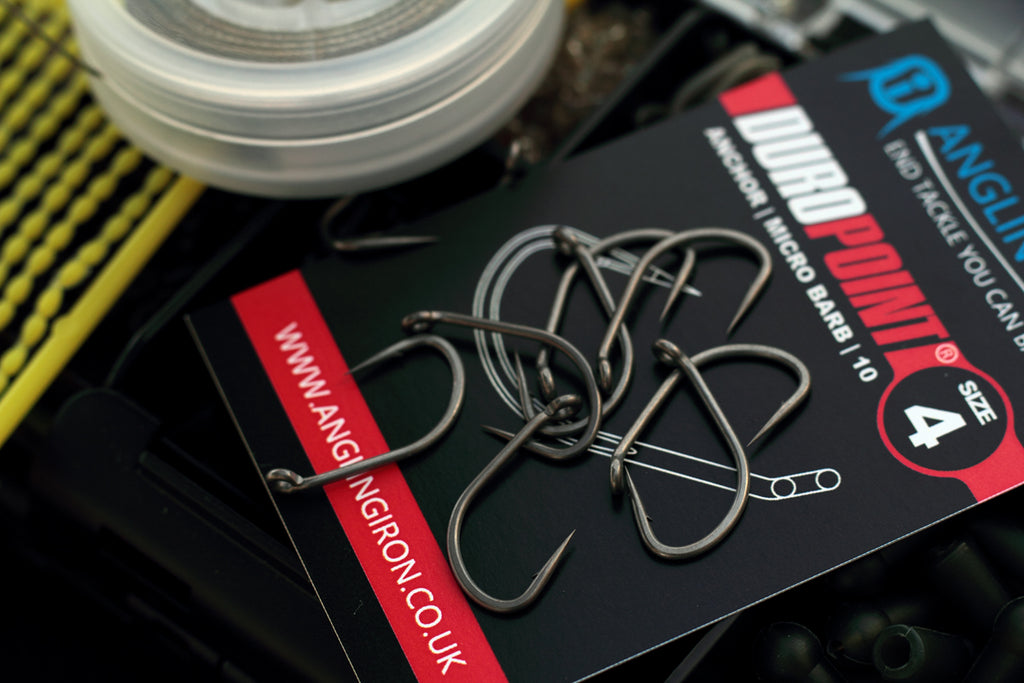
Some coated braid, a Semi stiff or Soft coated braid depending on the lakebed you’ll be fishing over. One of our Duropoint Anchor hooks in a size 4 or 5 along with one of our bait attachments, we'll be using a micro hook ring swivel but you can also use a rig ring screw or rig ring. You'll also want some of our large line aligners or 3:1 trans Khaki shrink tube if you’d rather.
Tools for the job:
Scissors, coated braid stripping tool, Knot puller and a lighter.

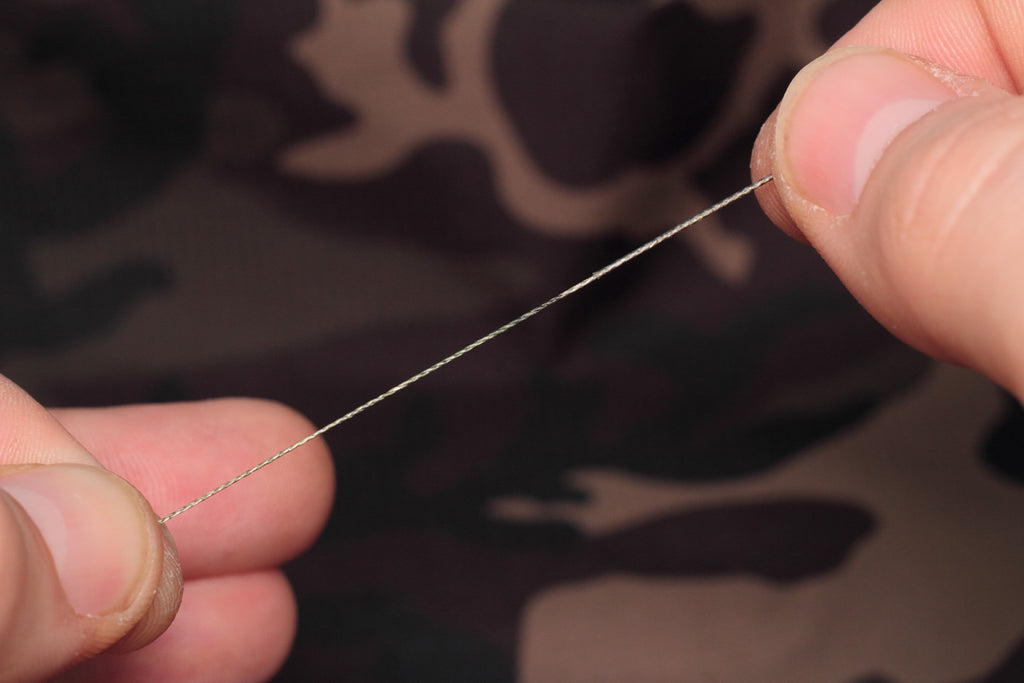
STEP ONE: Cut a length of your chosen coated braid, about 30cm will make a completed rig of around 6 inches in length and should be about right for most fishing situations.
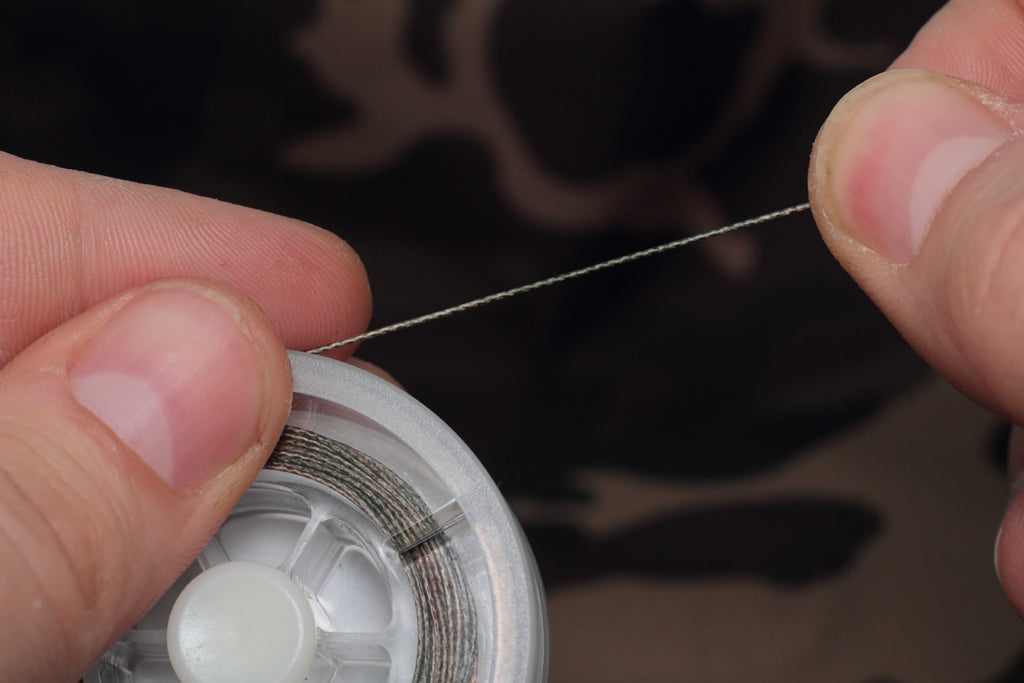
STEP TWO: Using your coated braid stripping tool remove about 110mm of the coating from one end
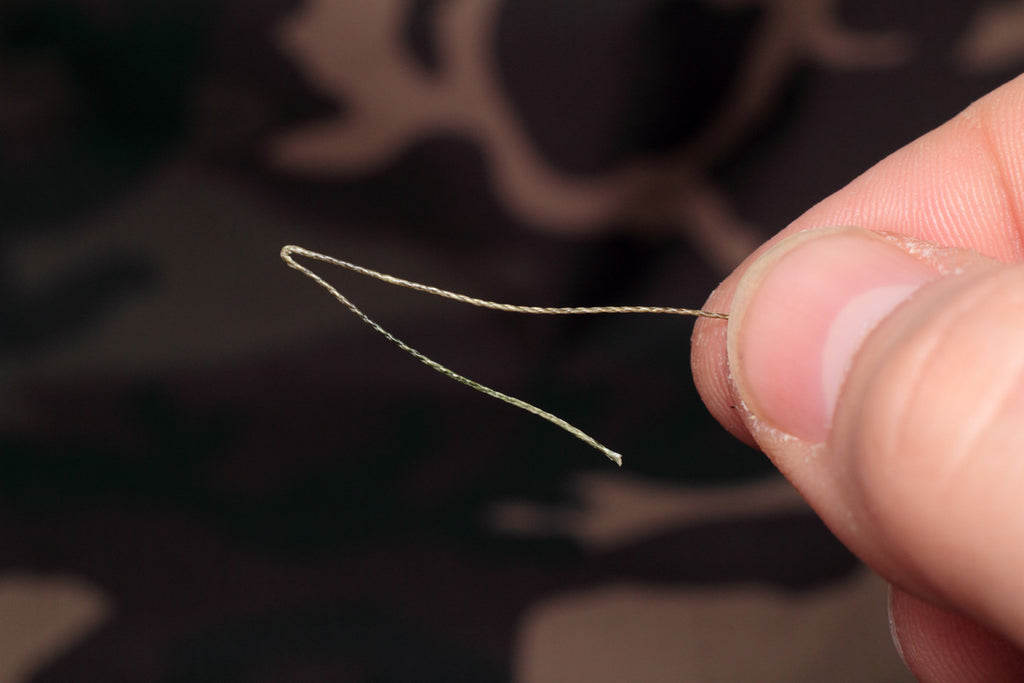
STEP THREE: Now double over about 30mm of the exposed inner braid.
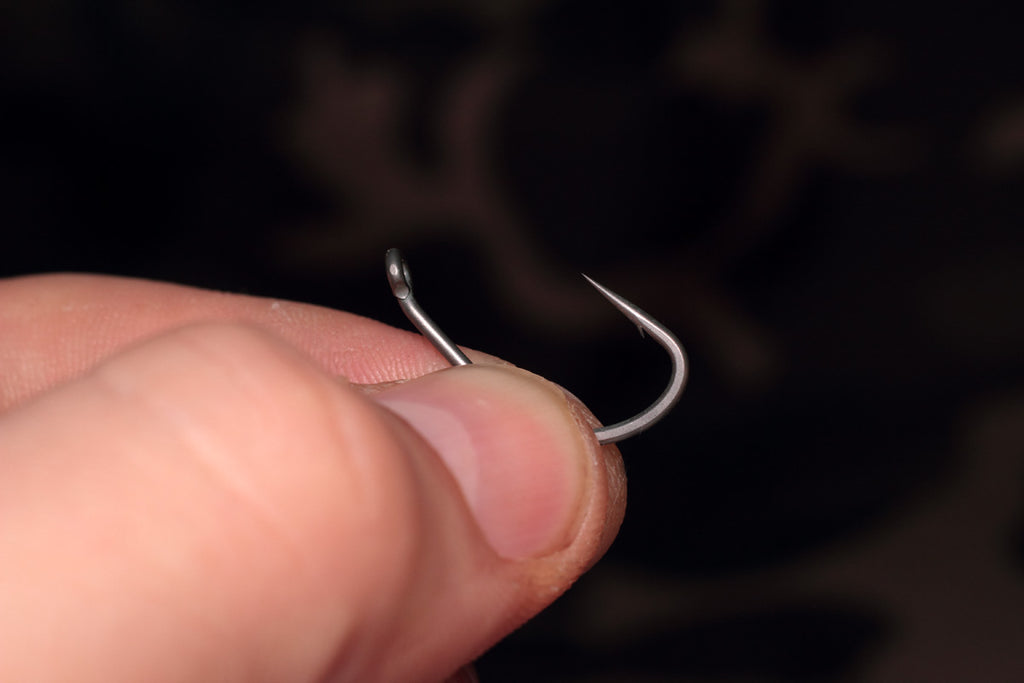
STEP FOUR: Feed the doubled over section through the eye so that it exits at the back, don’t feed it all the way through though, just enough so that the loop will pass over the bend of the hook.
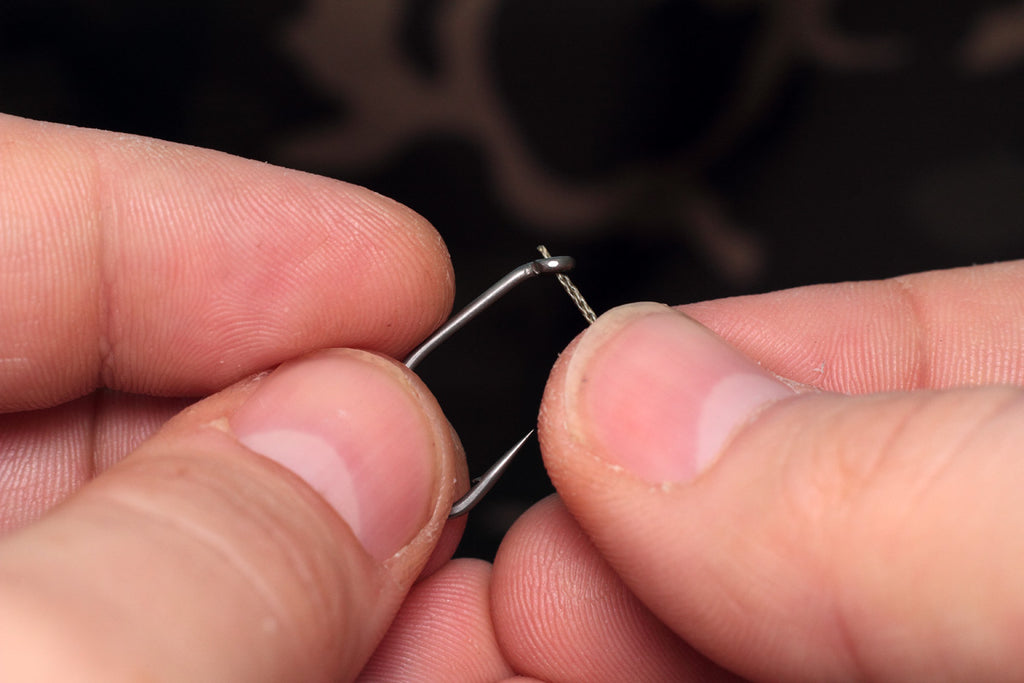
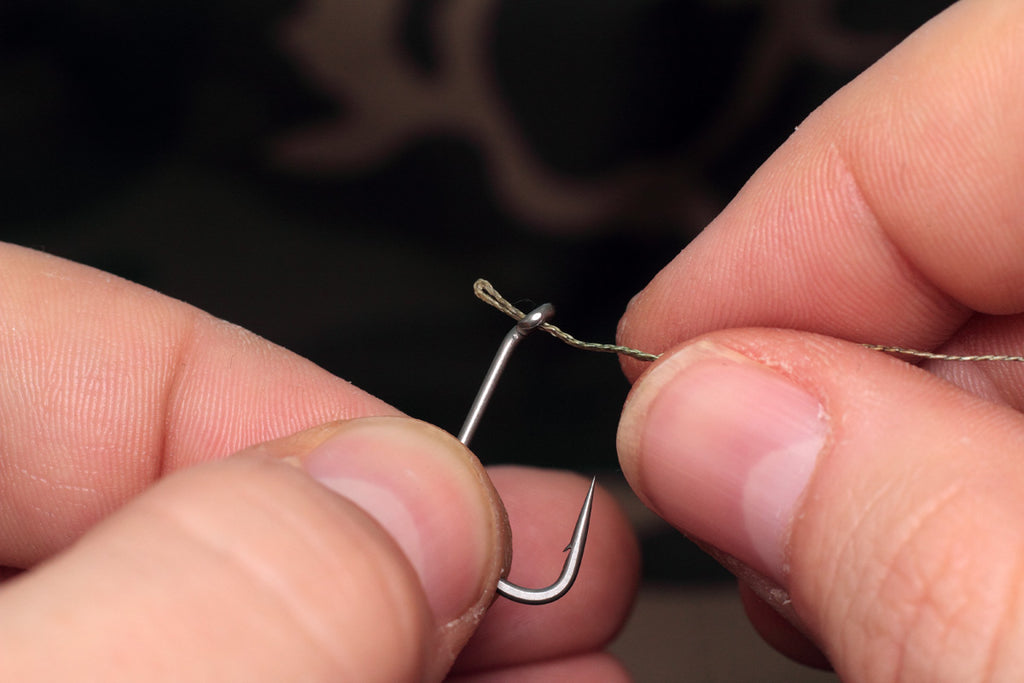
STEP FIVE: Take your chosen bait attachment and slip it onto the looped section like so
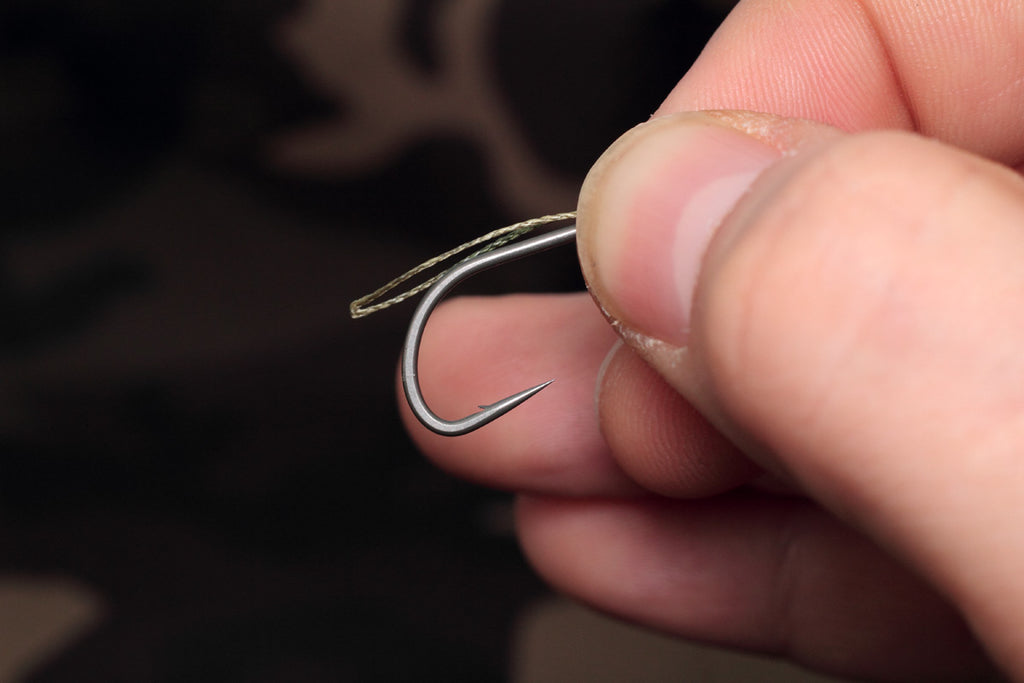
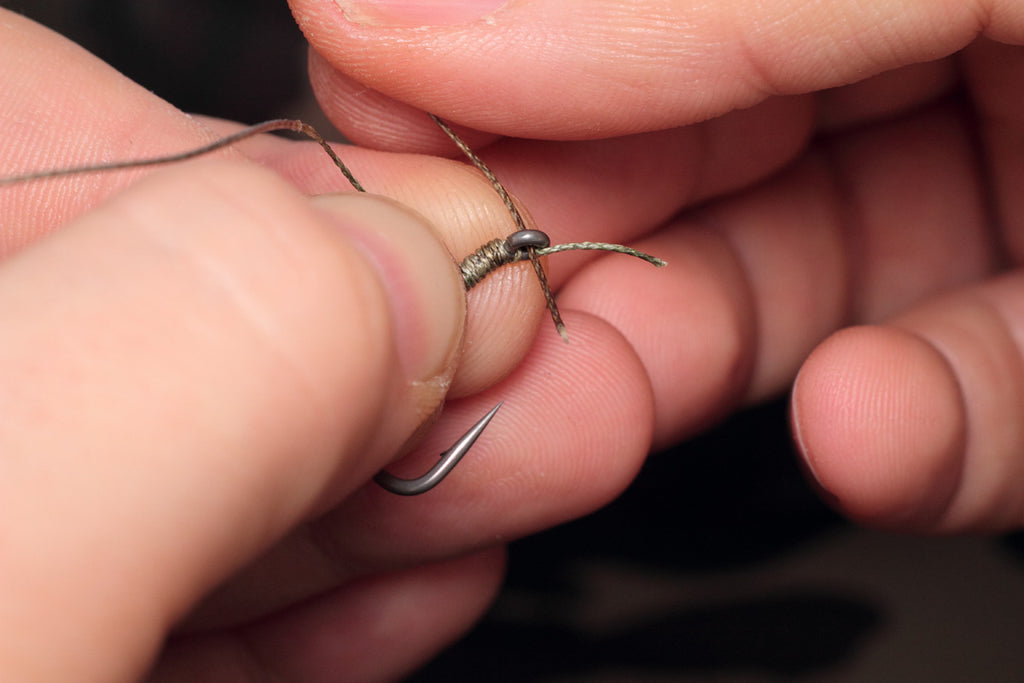
STEP SIX: Now pass the loop around the bend of the hook and over the point until it is on the inside of the bend.
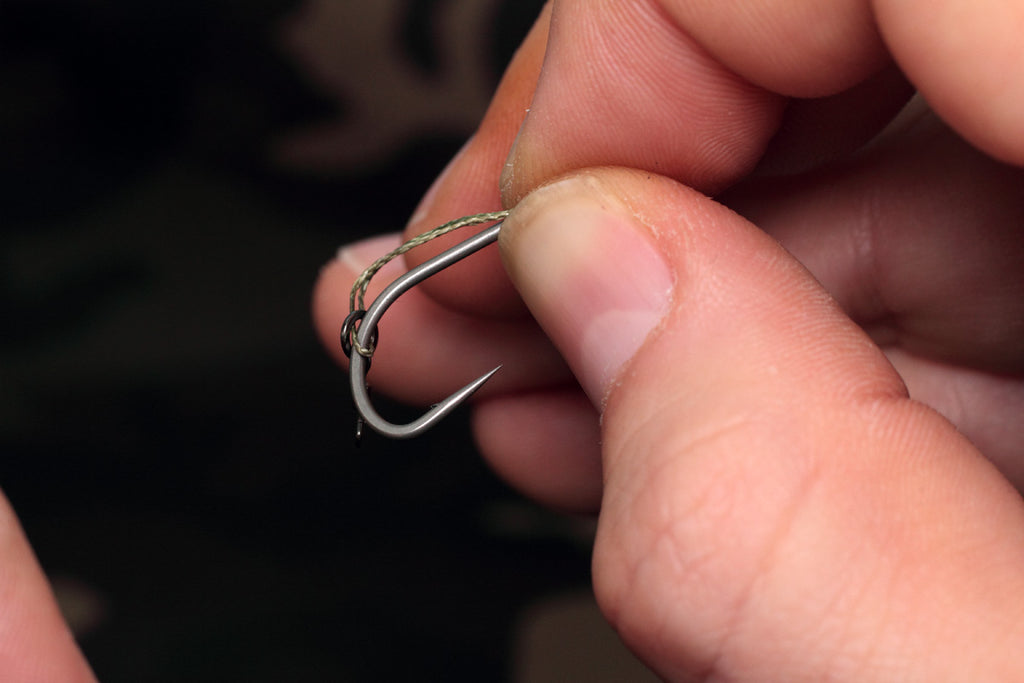
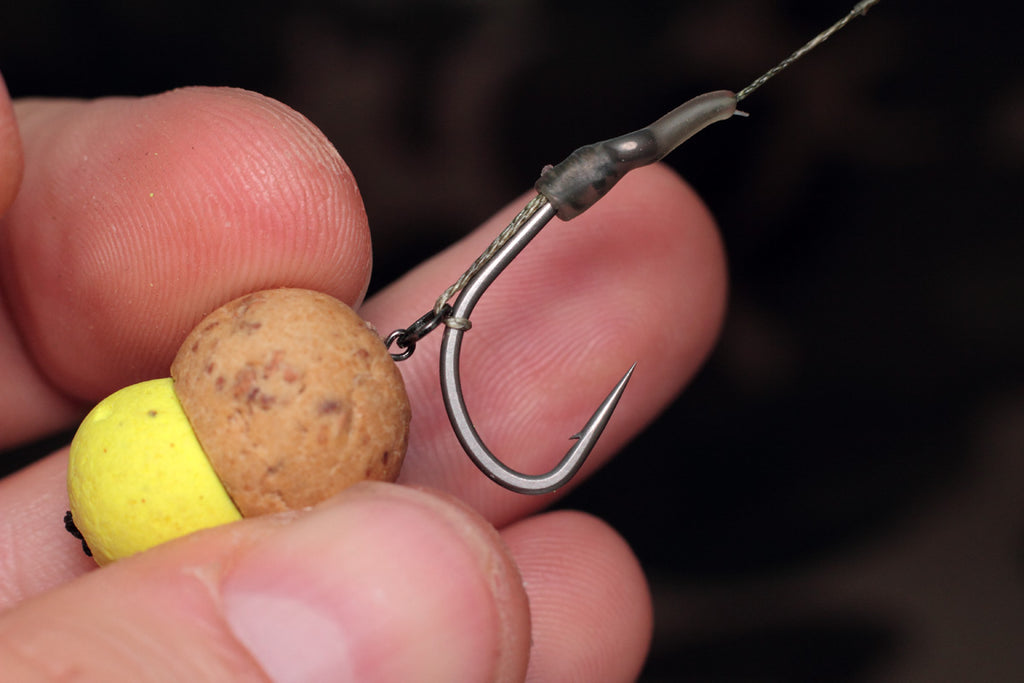
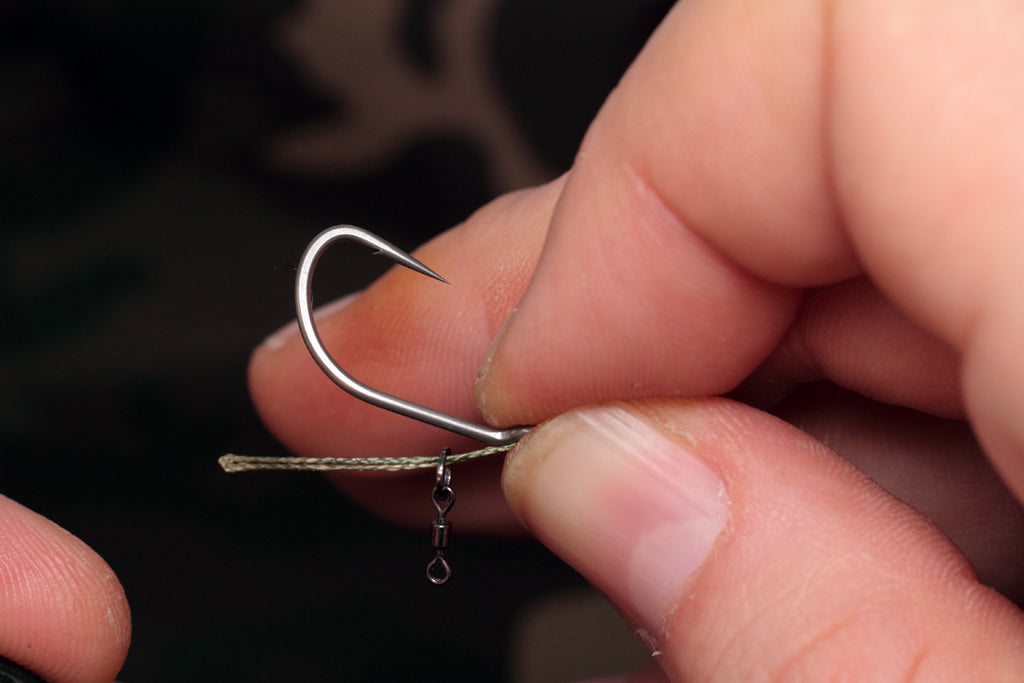
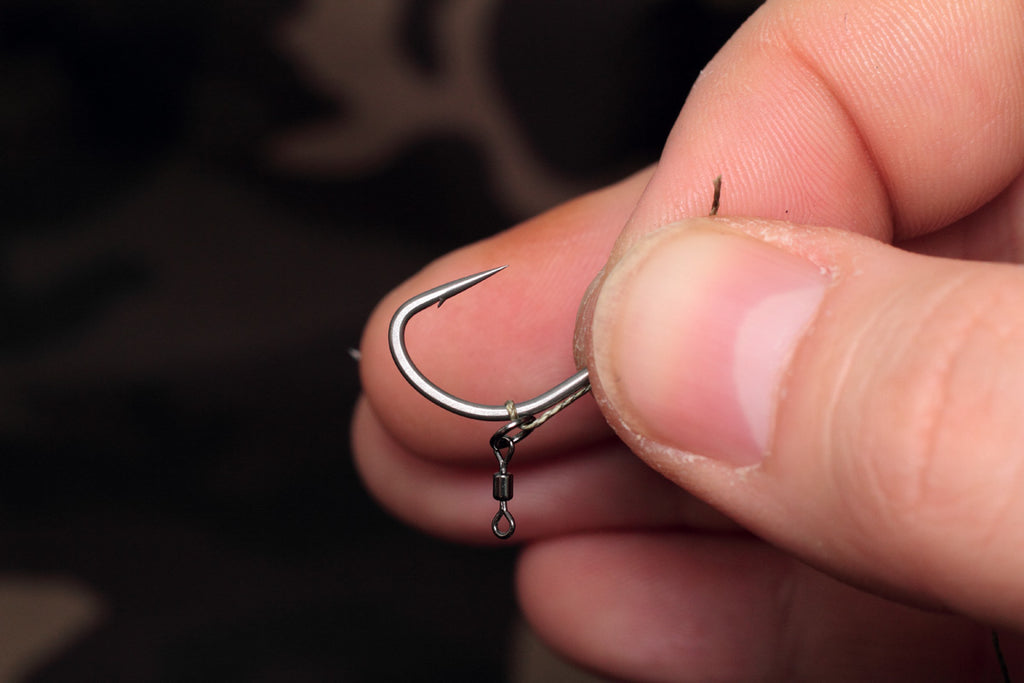
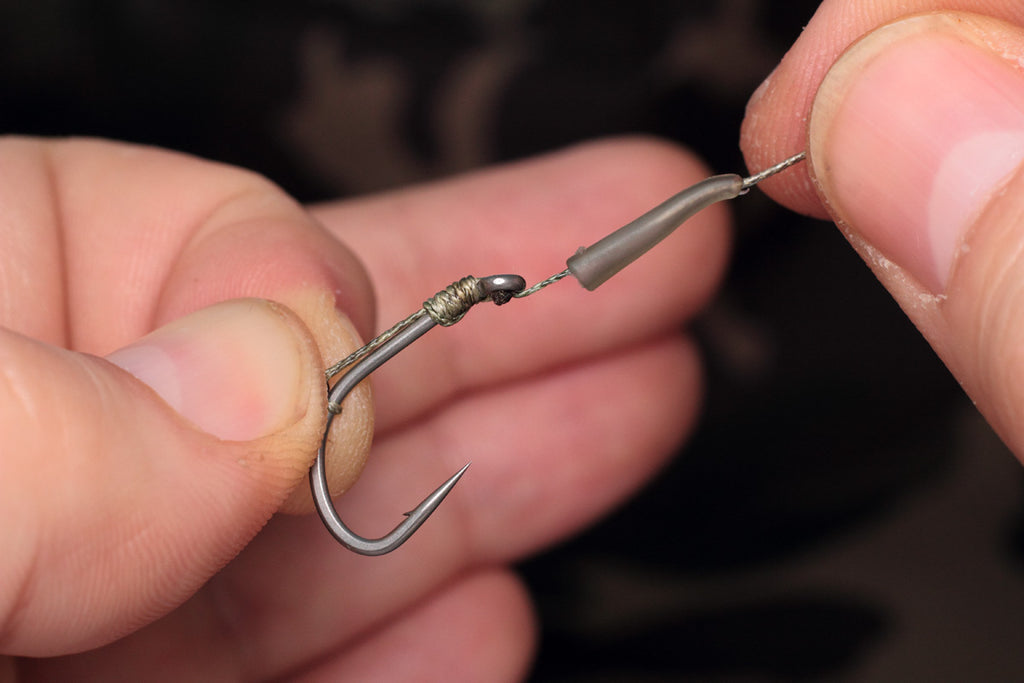
STEP SEVEN: Adjust the loop so that the micro swivel is about opposite the barb of the hook as pictured here.
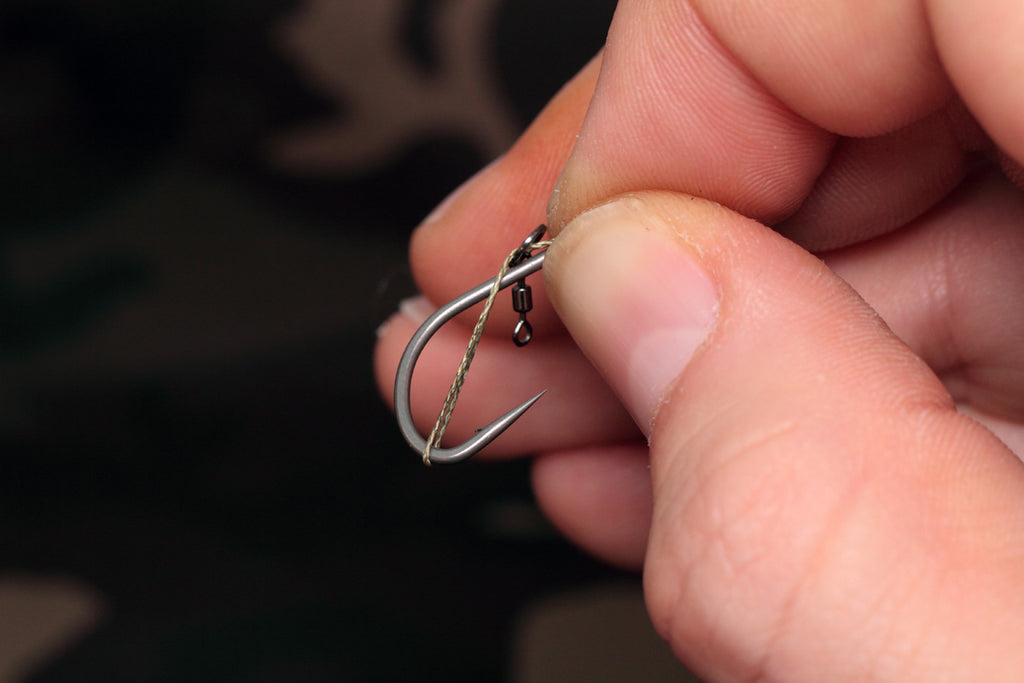
STEP EIGHT: Trapping the loop and micro hook ring swivel in position, start to whip up the shank of the hook. Be careful to keep the doubled over section at the back of the shank whilst doing so, you might need to tweak it as you go along. Continue until you’ve whipped round the shank around eight or nine times.
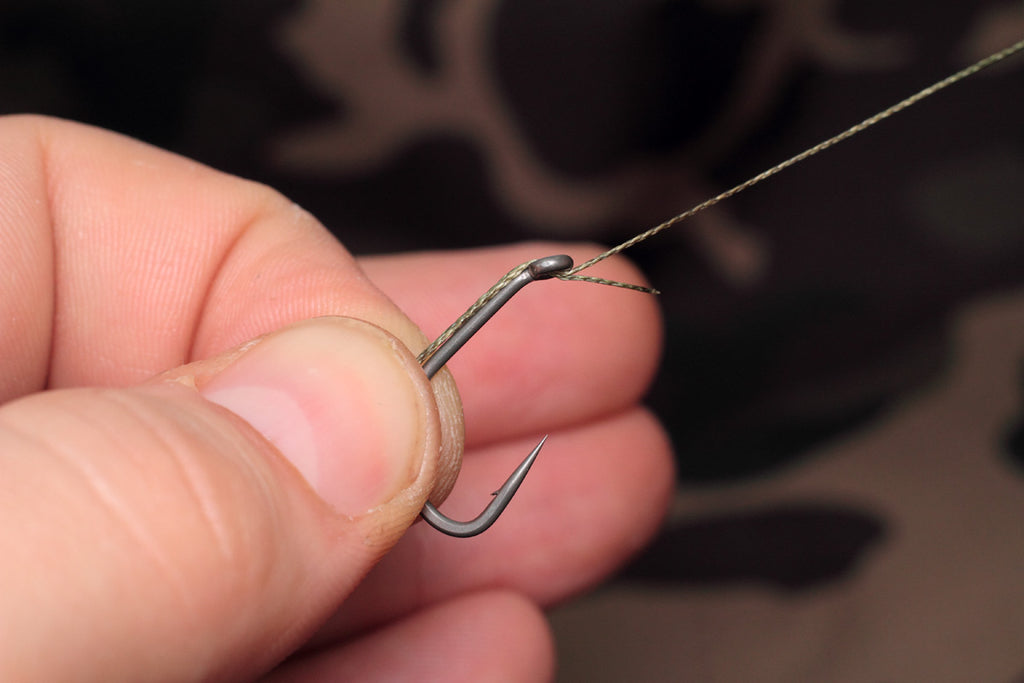
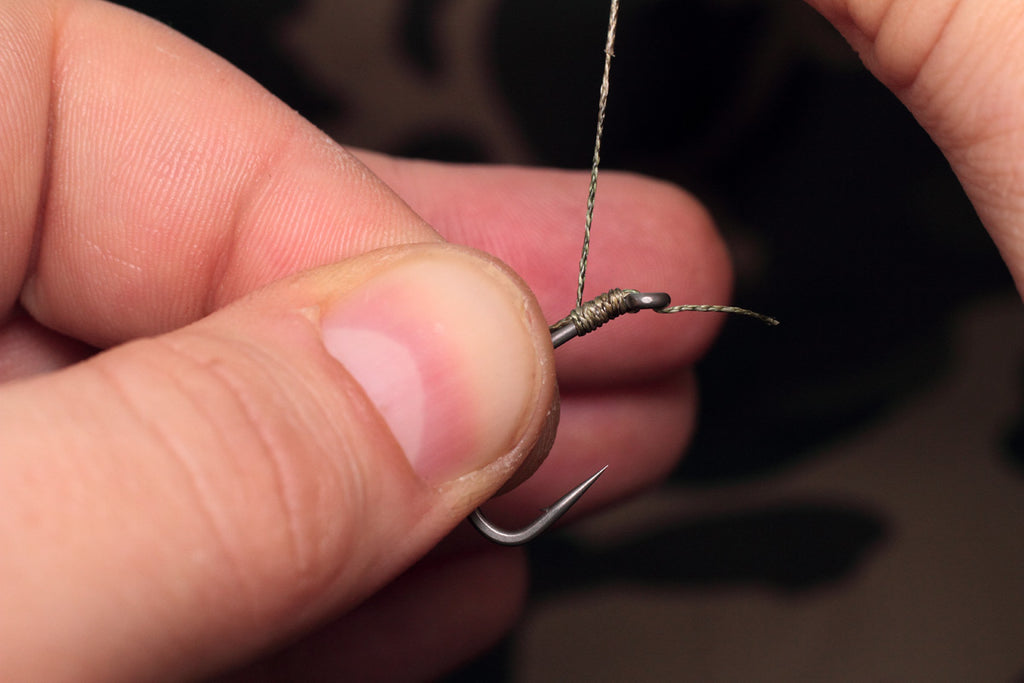
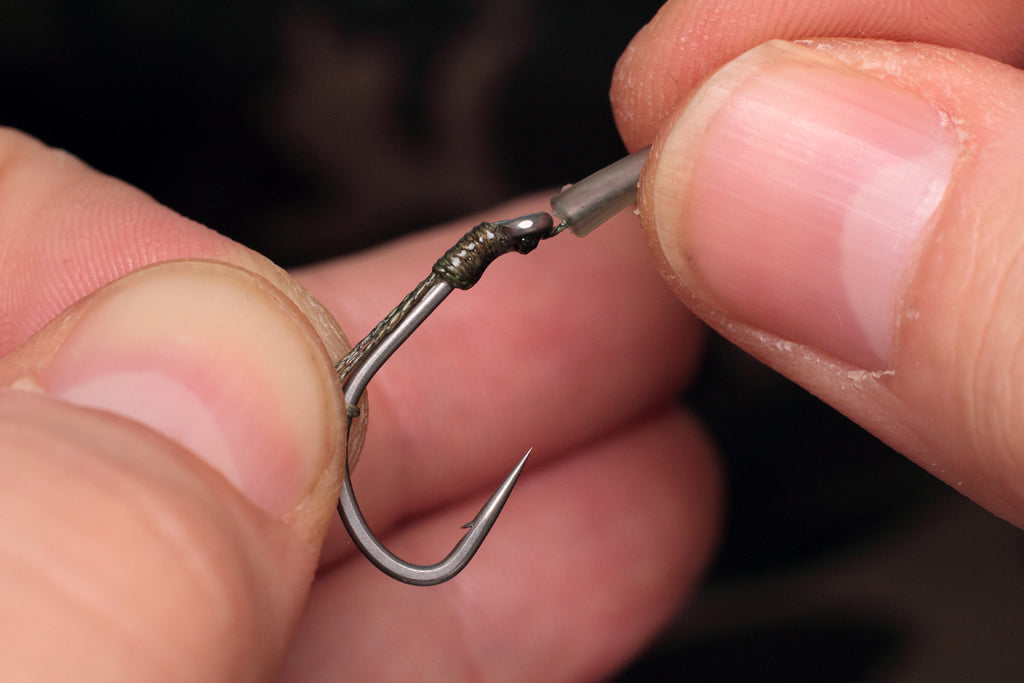
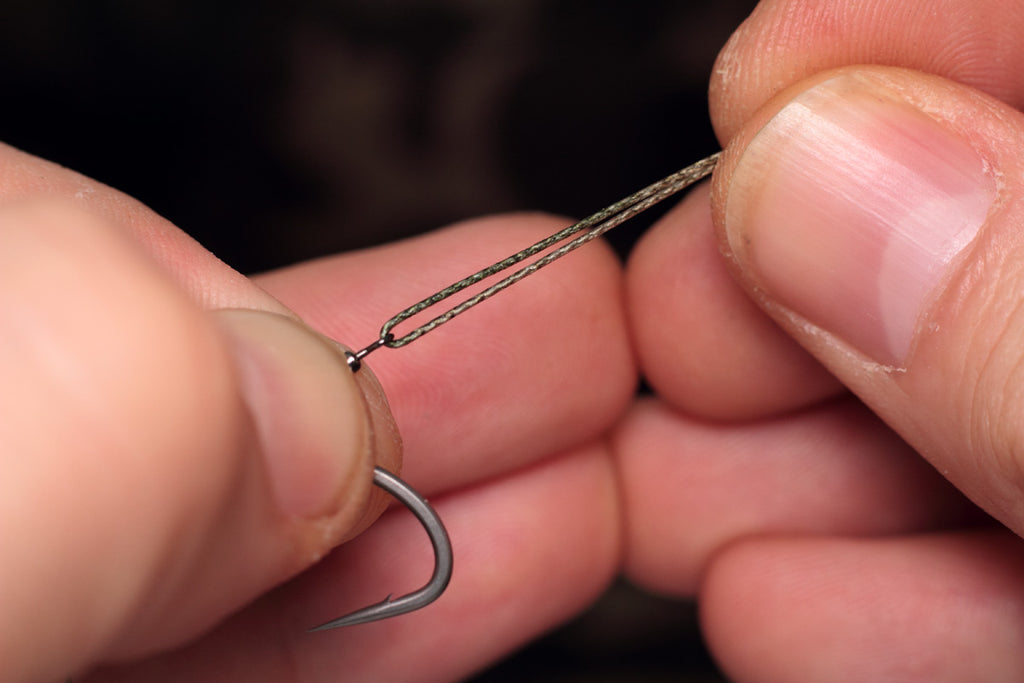
STEP NINE: Whilst trapping the whipping you’ve just done to prevent it unravelling pass the coated end of the hooklink through the back of the eye like so.
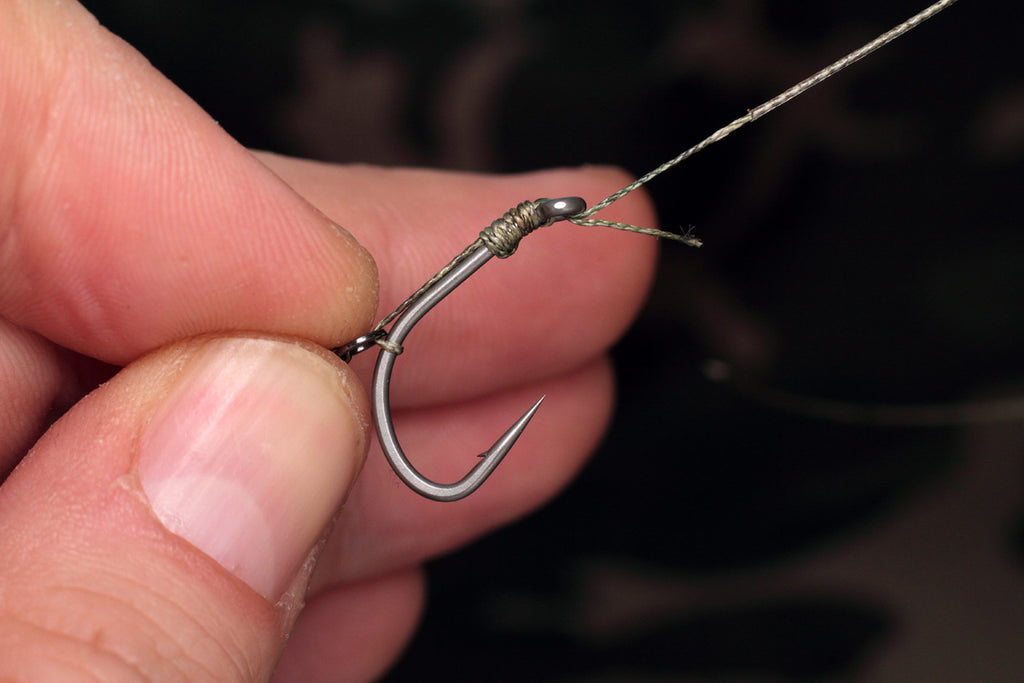
STEP TEN: Pull the remaining hooklink through the eye and tighten down.
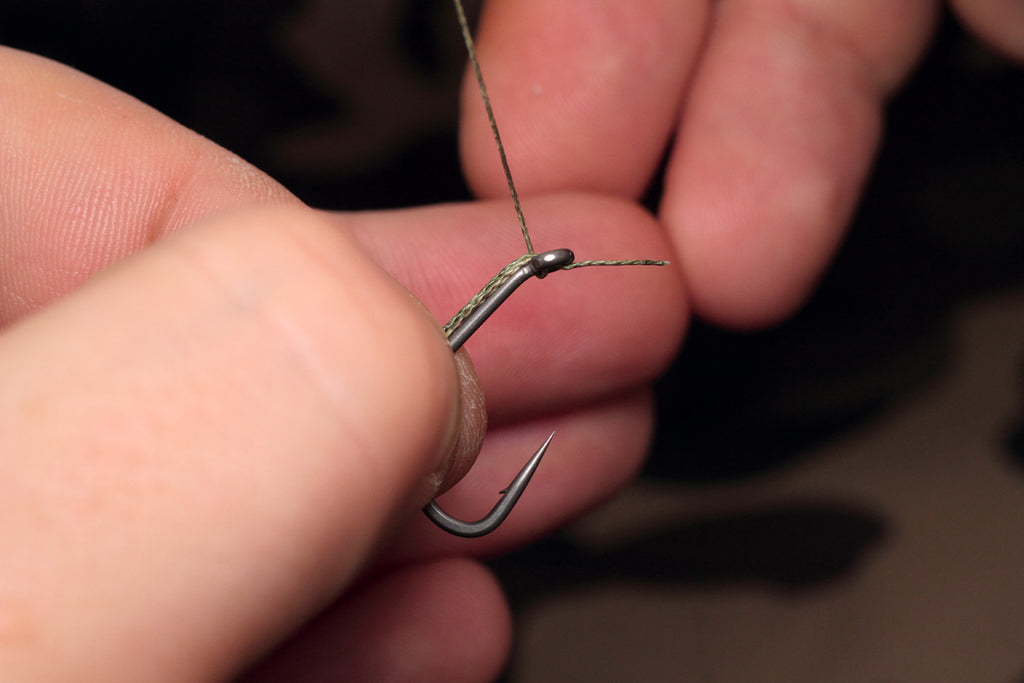
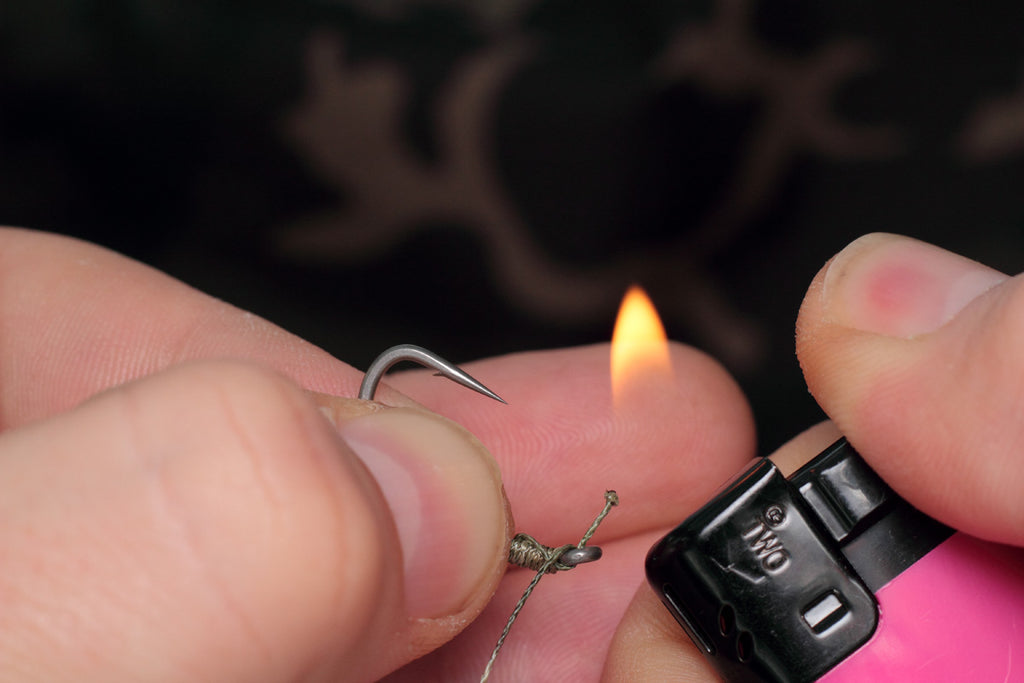
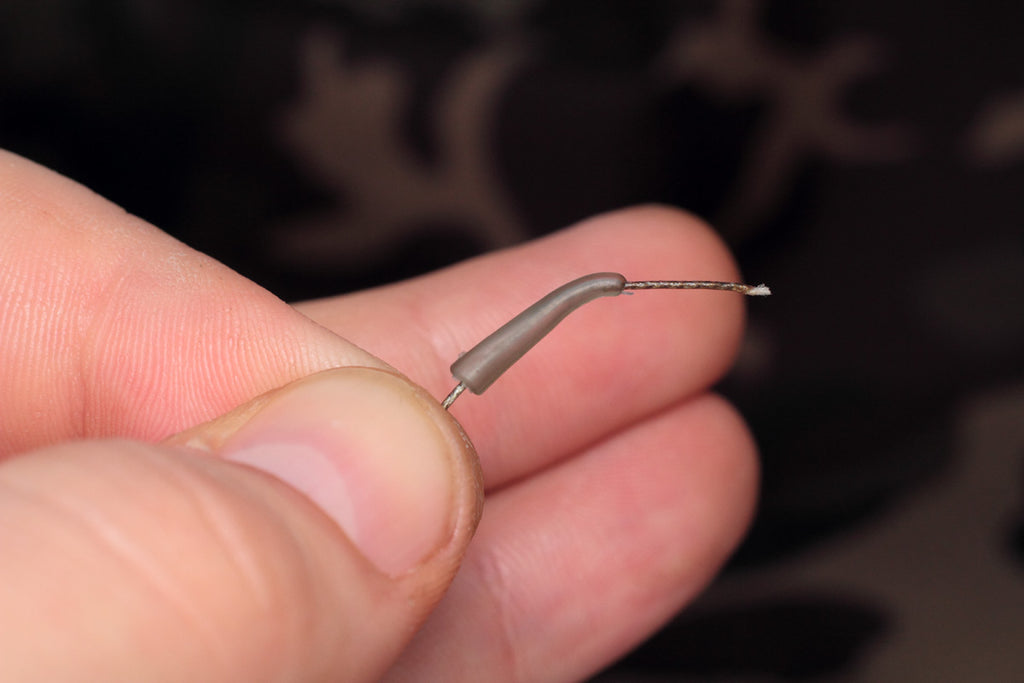
STEP ELEVEN: Now trim down the tag end and if it’s quite long, give it a lick with your lighter
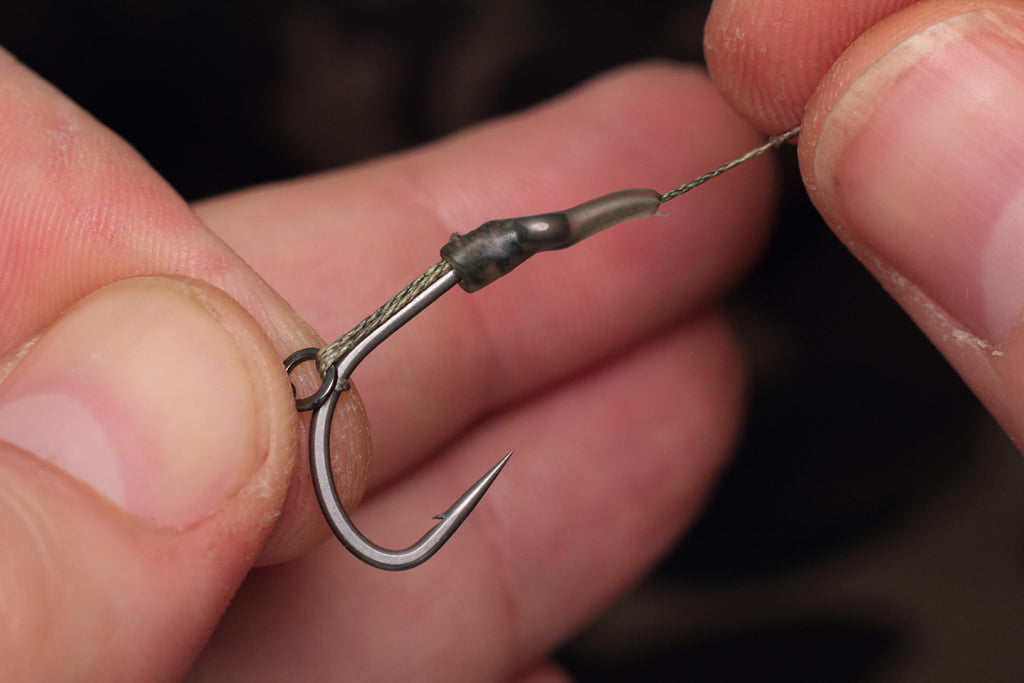
STEP TWELVE: Take your large line aligner and feed it onto your hooklink, then moisten the eye of the hook and whipping with saliva before locating the line aligner.
STEP THIRTEEN: Cut a 3 inch length of coated braid or nylon, feed it through the micro hook ring swivel and double it over so that both legs are roughly equal.
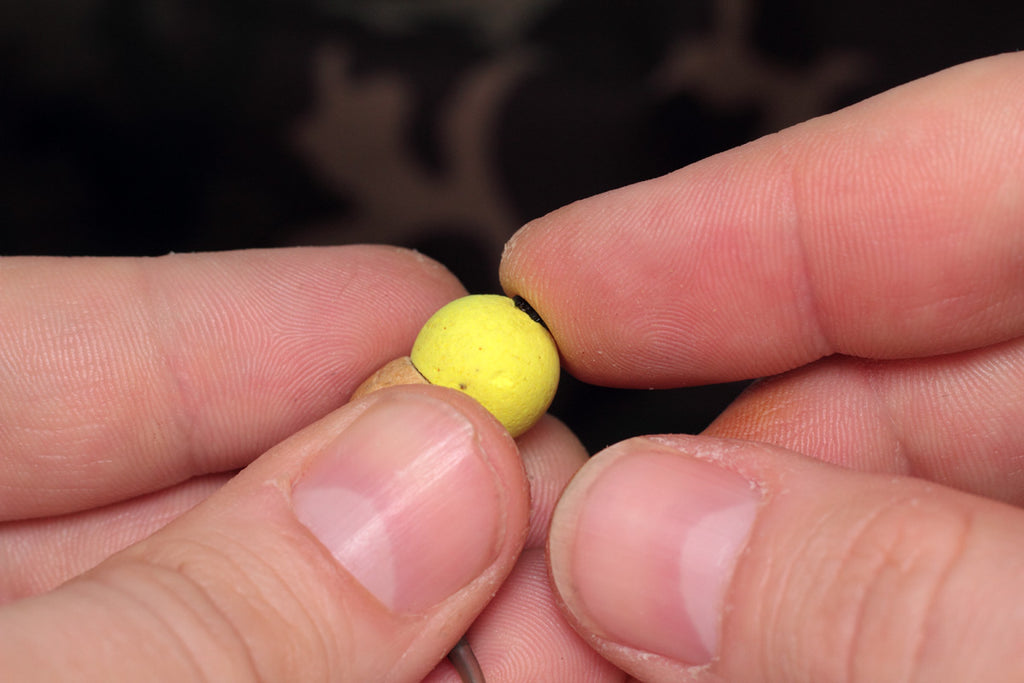
STEP FOURTEEN: Trap the ends of the doubled over section in the baiting needle and transfer your bait onto the loop. Slide it down and locate on the swivel.

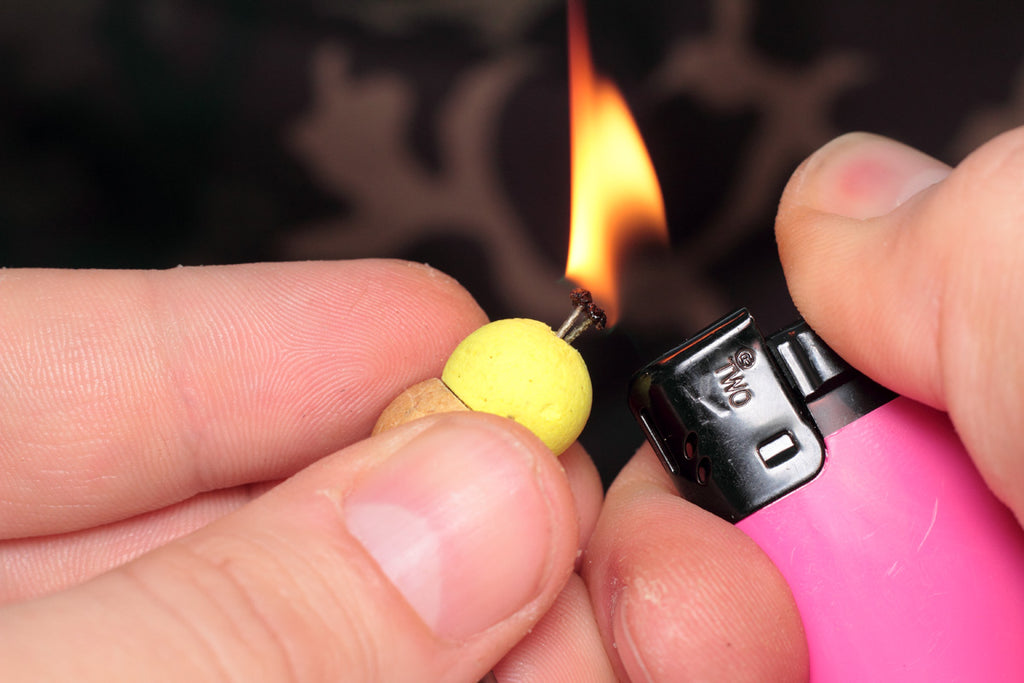
STEP FIFTEEN: Now light the tag ends until and use a wetted finger to blob the ends against your bait.
All that’s left to do is to attach the finished rig to the appropriate swivel, or just tie an overhand loop so you can attach it at a later time.