There can be little doubt of the qualities the Multi Rig possess, Here we show you how to tie it. On the whole most use it with a Chod hook but it can be tied with our Curve shank pattern too. In this article we've used one of our size 5 Duropoint Chod hooks
What you'll need to tie the Multi rig:
Some coated braid, we prefer a Soft or Semi stiff coated version. One of Our Chod hooks along with one of our Bait attachments, We'll be using a Rig ring screw but you can also use a Micro hook ring swivel or Rig ring. You'll also need some tungsten putty or Split shot too.
Tools for the job:
Scissors, Coated braid stripper tool, Knot puller and a lighter.


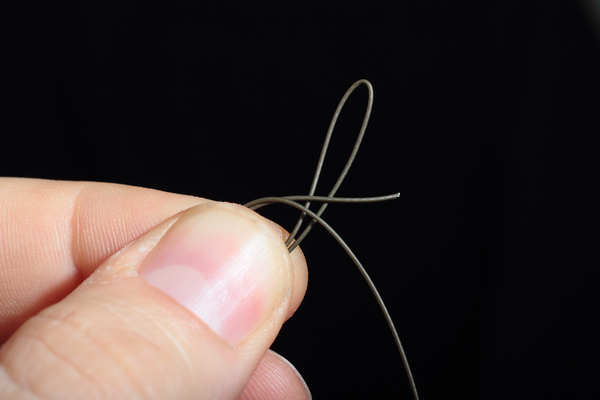
STEP TWO: Now make an overhand loop with the doubled over section.

STEP THREE: Start to tighten the overhand loop knot, ease it down so that the resulting loop Is between an Inch to an Inch and a half in length. Now use a knot puller tool and bed it down.
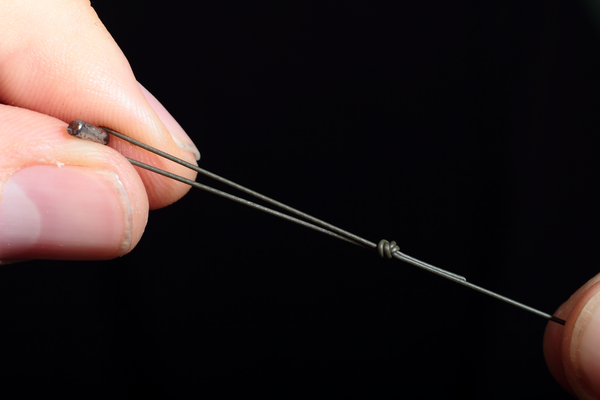
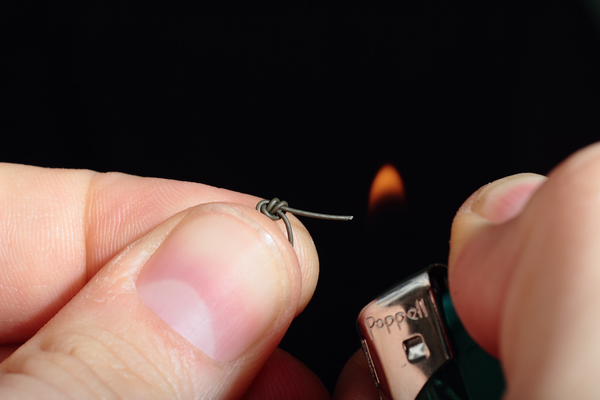
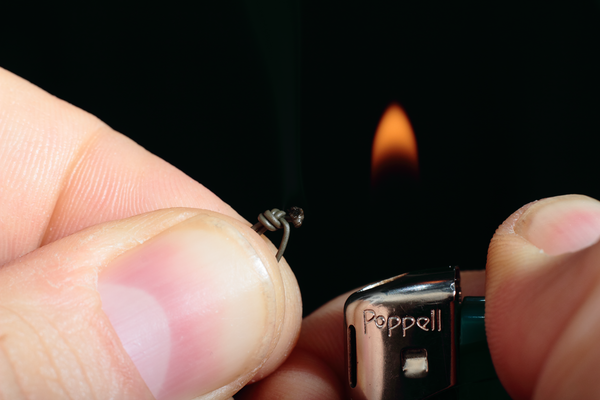
STEP FOUR: Using a lighter set on a low flame, slowly melt the tag end until its just about at the knot. wet your thumb and use it to blob the remaining molten tag end against the knot.
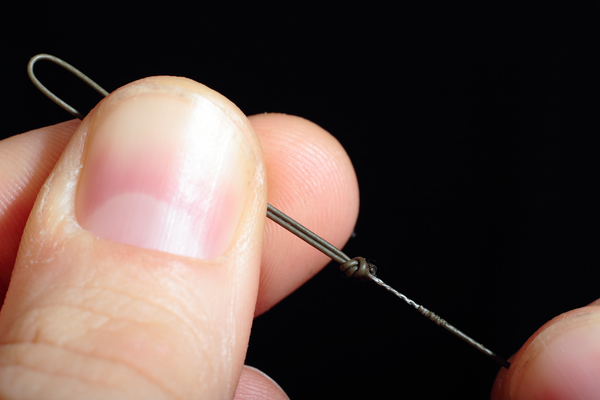
STEP FIVE: Using your Coated braid stripping tool, carefully strip back around 10mm of coating behind the knot of the overhand loop.
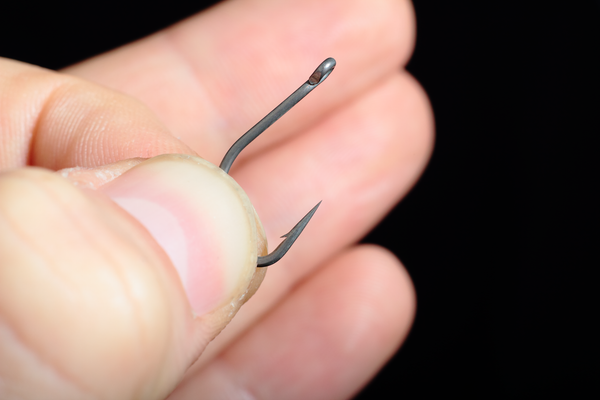
STEP SIX: Take your chosen hook and hold it firmly between your thumb and forefinger
STEP SEVEN: Push the loop through the eye of the hook so that it exits at the back.
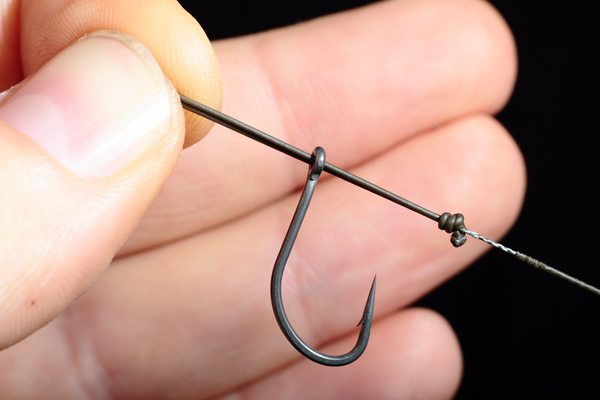
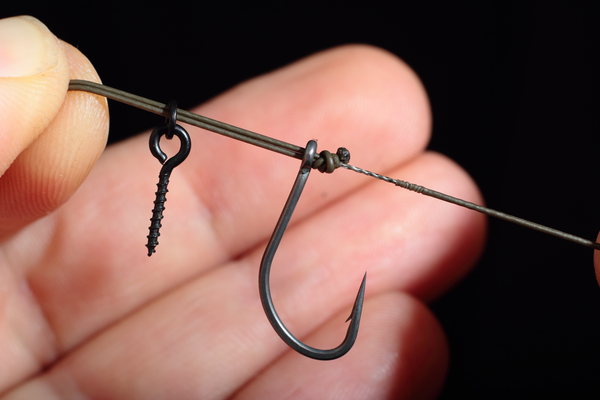
STEP EIGHT: Choose your bait mounting and feed this onto the loop too.
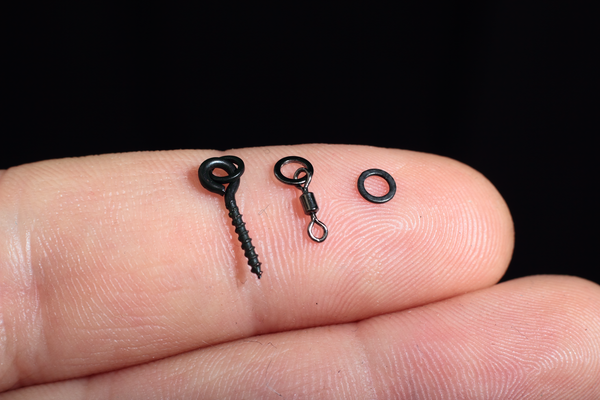
Rig ring screws are extremely convenient and make changing baits very easy. Micro hook ring swivels offer unparalleled hookbait movement.
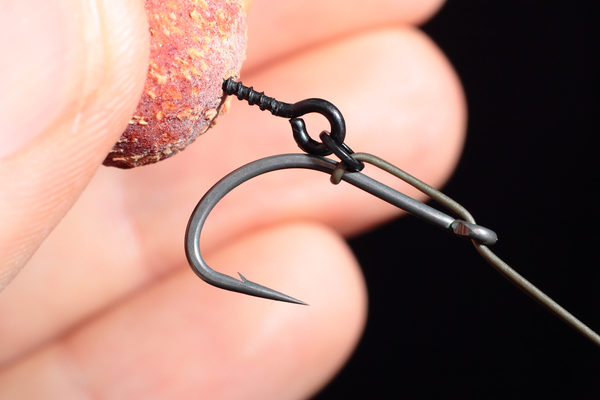
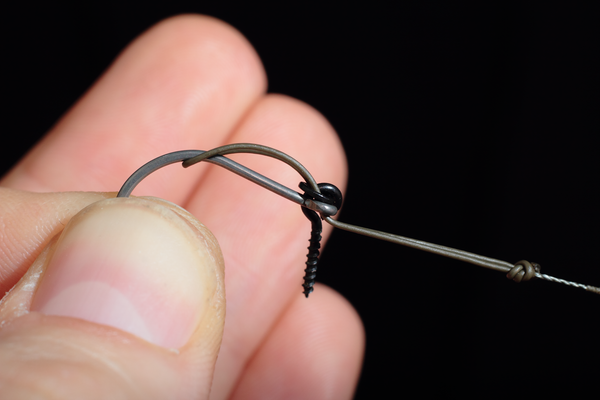
STEP NINE: Holding your hook by the eye, pass the end of the loop over the bend and then the point of the hook until it's on the inside of the bend.
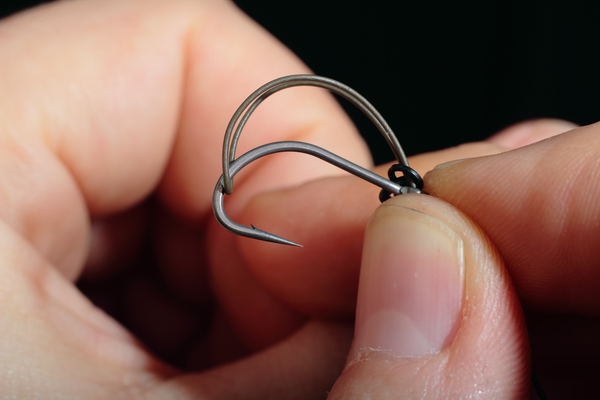
STEP TEN: Gripping the hook securely pull the the loop back through the eye until you're left with a small "D" section.
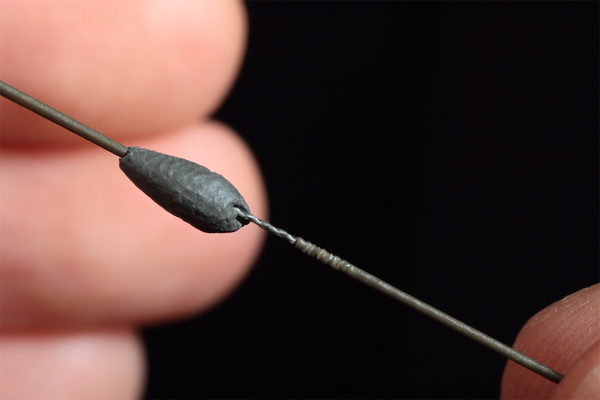
STEP ELEVEN: It’s now time to add some putty, we find it best to apply it to the knot as it offers good purchase helping the putty to adhere. Roll the required amount of putty into a ball, then flatten the ball between your thumb and forefinger. Now press the loop knot into the putty as shown below before wrapping the putty around the knot and shaping it.

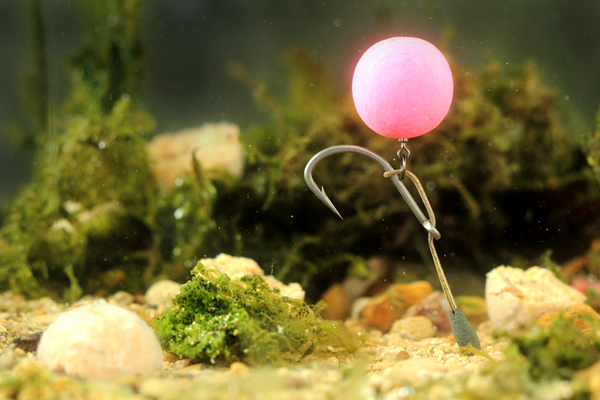
STEP TWELVE: Tie your rig to the appropriate swivel for the lead arrangement you will be using, add your bait and away you go.