The Ronnie rig or Spinner rig as it is otherwise known has rather shot into the Spotlight recently and has become enormously popular, Its a great choice of Carp rig for those seeking a Subtle low sitting pop up rig that shares properties of both the Stiff hinged rig and the 360 rig but without the suggested drawbacks of the latter.
What you'll need to tie the Ronnie rig:
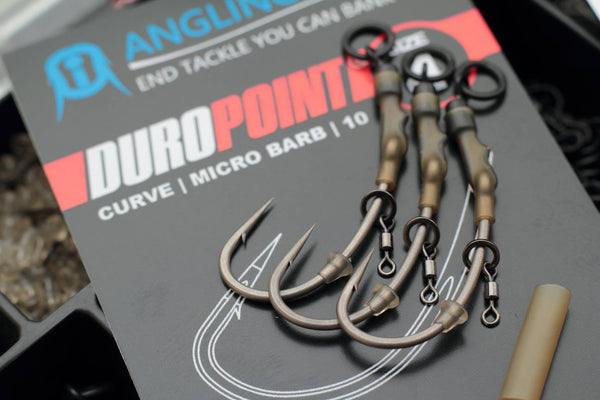
Some coated braid, Fluorocarbon or even Bristle filament for very clear lakebeds. One of our Duropoint® Curve shank hooks along with one of our bait attachments, we'll be using a micro hook ring swivel but you can also use a rig ring screw or rig ring. You'll also need some of Our trans Khaki or Green shrink tube, a shank stop and some tungsten putty.
Tools for the job:
Scissors, Knot puller and a lighter.


STEP ONE: Cut a length of our Trans Khaki Super shrink, If you're using a Size 4 or 6 Duropoint Curve shank 13mm is perfect. Slip the piece of Shrink tubing over the eye of your hook and onto the shank like so.
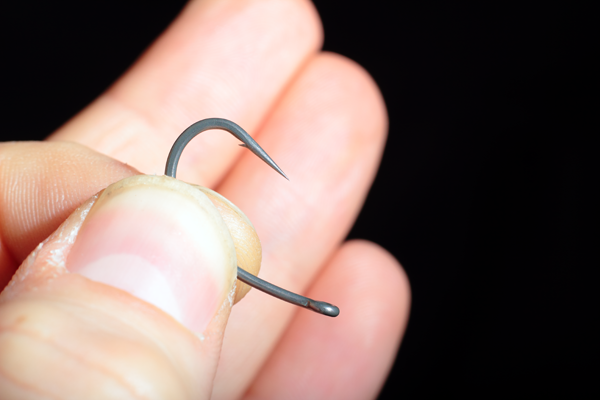
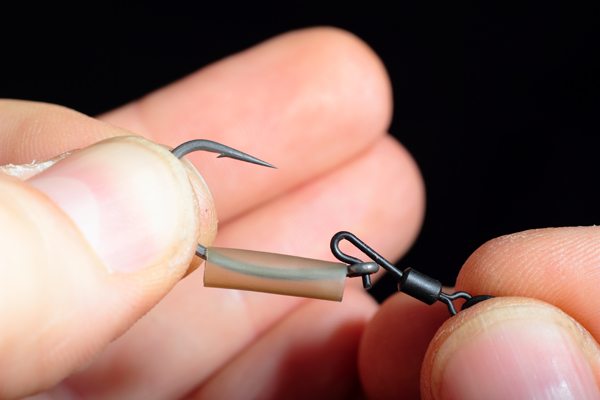
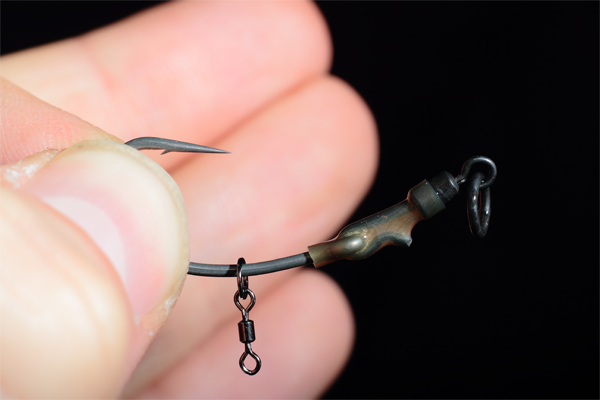
STEP TWO: Take one of our Size 11 Quick Change Heli ring swivels and put it through the eye of the hook. This can be quite tricky, to make it easier open up the gap through which the hook must pass a tiny (and I do mean tiny) amount. It is vitally important to note that the outward angled part of the Swivel is to the back of the hook as shown below!
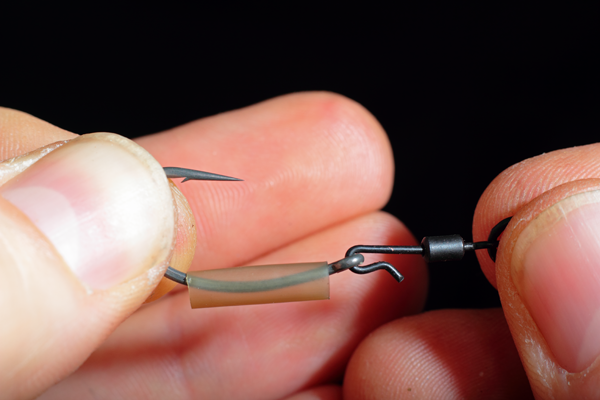
STEP THREE: Slide the shrink tubing back so that it covers most of the body of the swivel whilst still covering the eye of the hook and extending a couple of millimetres u the shank Like so.
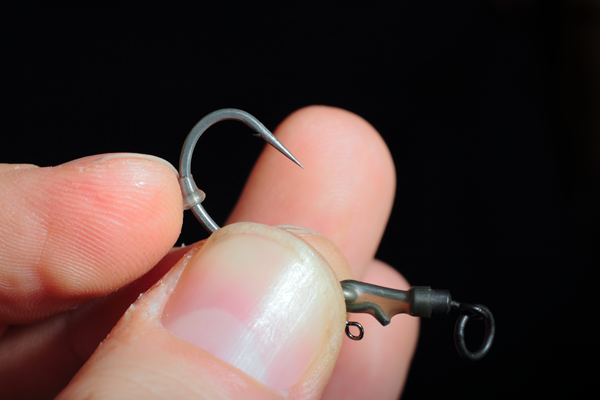
STEP FOUR: Being very careful not to burn your fingers, steam the shrink tube down to size. Whilst doing so, do try to keep the swivel inline with the eye of the hook, this will create a rig that sits perfectly. To keep it all lined up as desired whilst steaming hold the hook by the bend in your left hand and the ring of the Ring swivel in your right hand or with a knot puller tool. Note how to shrink tubing fully covers the eye of the hook and extends a couple of millimetres up the shank.
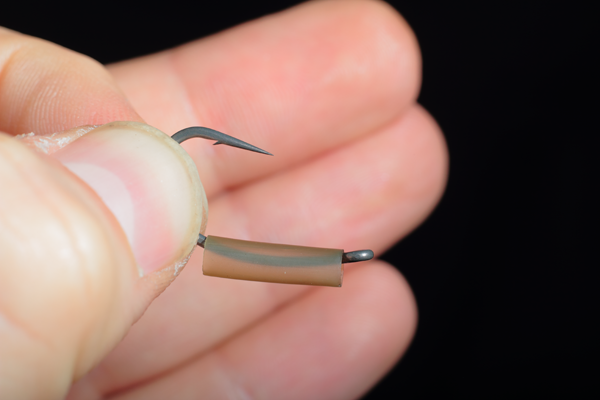
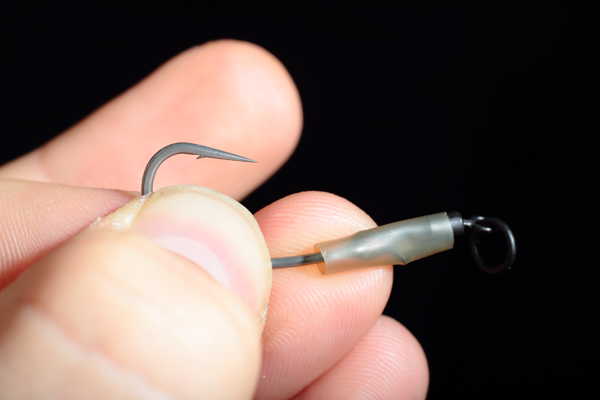
STEP FIVE: Take your chosen bait attachment and slip it over the hook point and onto the shank. We're using a Micro hook ring swivel as we feel they offer unparalleled hook bait movement which allows the rig to perform to its optimum.
STEP SIX: Take one of our neat little Shank stops and putting it on thick end first slide it over the point, carefully over the barb and round the bend until its about opposite the Barb of the hook. Adjusting the positioning of this bead will alter the way the rig sits in the water.
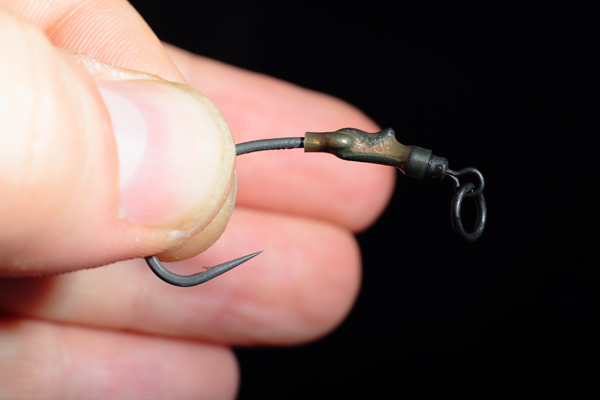
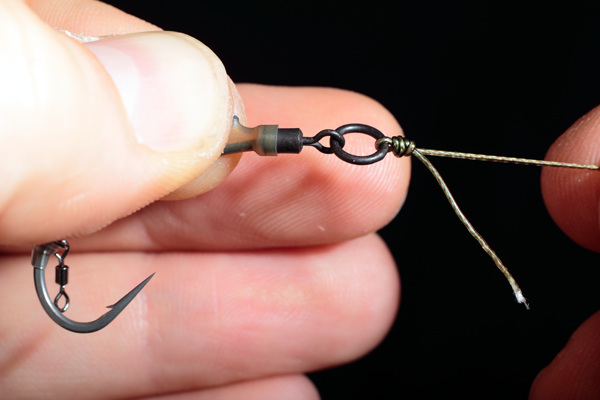
STEP SEVEN: Now attach your newly created Ronnie rig end section you your chosen hooklink material. We prefer to use a semi stiff coated braid for this, But you should obviously make your choice based on the laked bed you will be fishing the rig over. Here we tie the Ronnie rig end to the hooklink with a Three turn grinner knot. This also gives you something to apply your tungsten putty to.
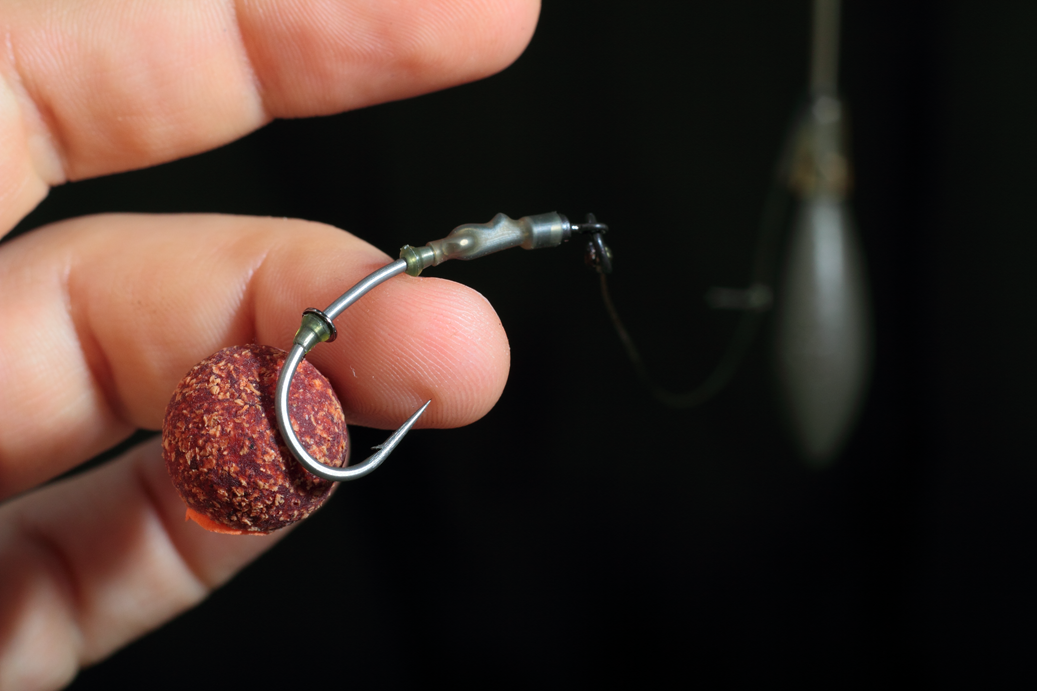
STEP EIGHT: Trim and blob your tag end and attach your chosen hook bait to the Ronnie rig.
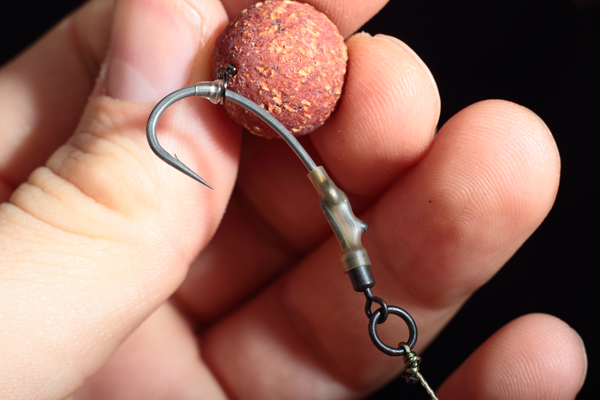
The only thing left is to apply some Tungsten putty to the knot attaching your hook link to the End section of your Ronnie Rig. We believe that this rig performs best when slightly overweighted.
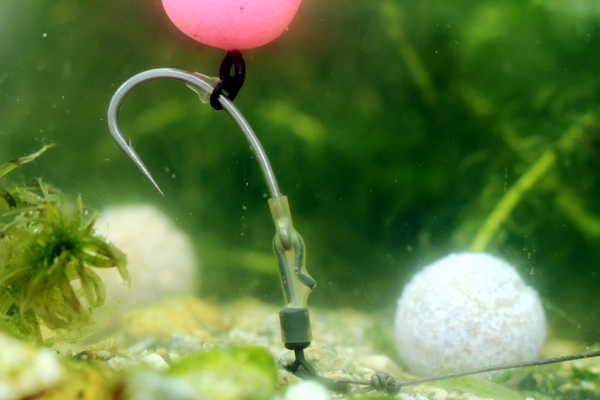
The Ronnie rig, underwater, poised and ready for a take. Perfect..
Side note: You may see other versions of this rig where the Shrink tube does not extend onto the body of the swivel. The suggested reason for this being that it is believed to offer better movement, however and it's a big however in our eyes it leaves the Crook of the swivel with more potential to become caught up in the net should the shrink tube move or bend slightly.
Get all your Ronnie rig components, including our wickedly sharp Duropoint Curve shank hooks in one convenient kit by clicking here