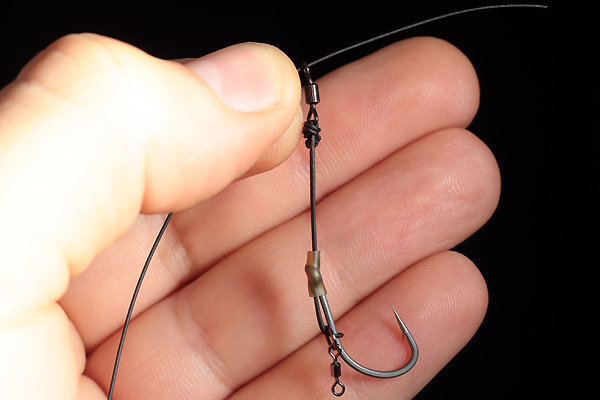
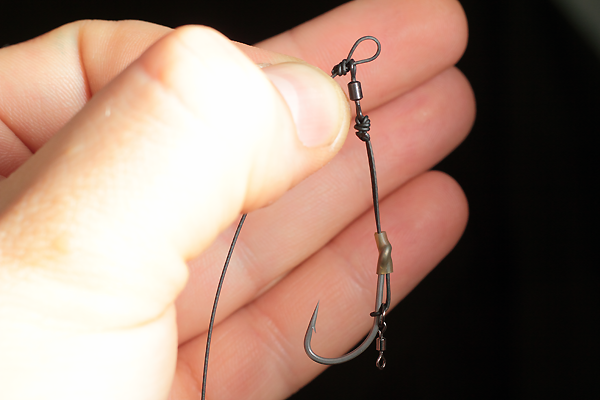
The Hinged Multi rig as the name implies is a hybrid of the Hinged stiff rig and the Multi rig. It's a neat and subtle rig that that offer the fantastic turning ability and the superb hooking potential of the Stiff hinged rig whilst gaining the convenience and adaptability of the Multi rig. Namely the ability to quickly change hooks and hookbaits very quickly. In this demo we'll show you how to tie a Hinged Multi rig like this one.

What you'll need to tie the Hinged Multi rig:
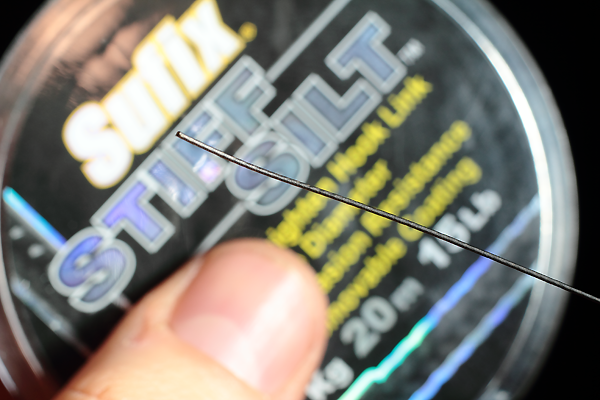
Some Stiff coated braid, One of Our Chod hooks, a size 12 rig swivel some of our khaki super shrink(optional) and one of our Bait attachments. We'll be using a Rig ring screw but you can also use a Micro hook ring swivel or Rig ring. You'll also need some tungsten putty.
Tools for the job:
Scissors, Knot puller and a lighter.
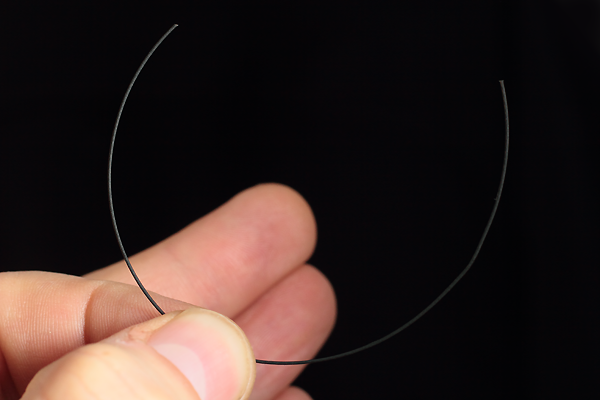
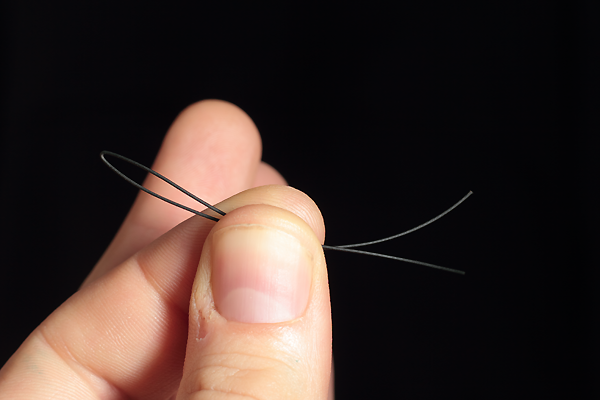
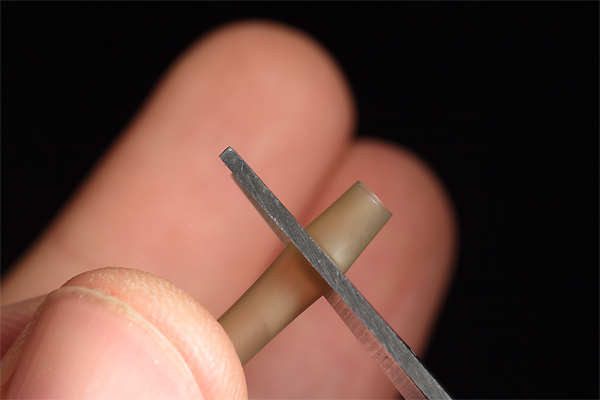
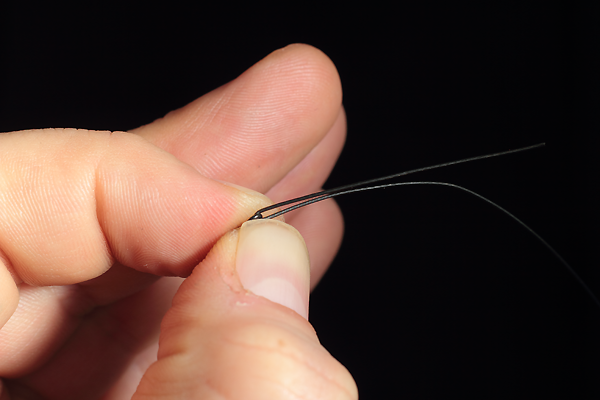
STEP ONE: To start with we're going to create the end section of the rig, the part that functions as the multi rig does. take a 5 to 6 inch length of your chosen stiff coated braid and double it over.
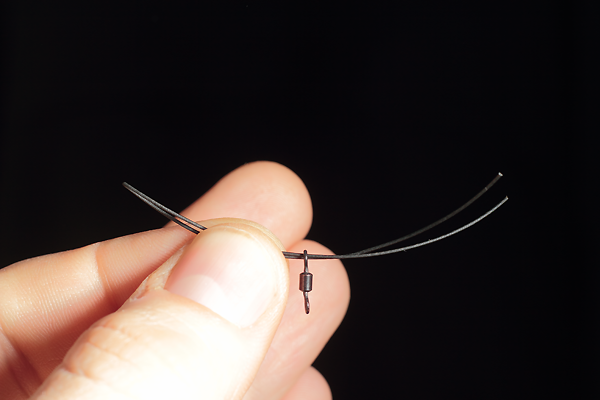
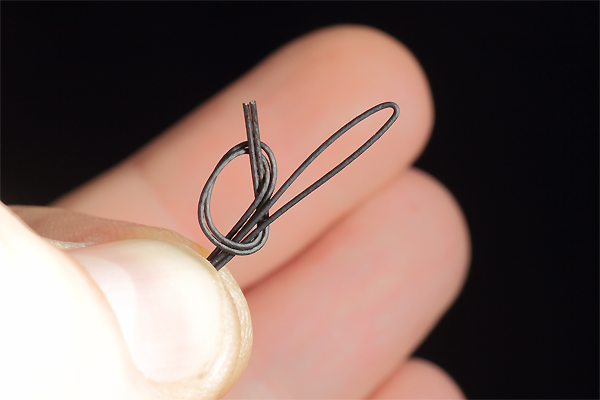
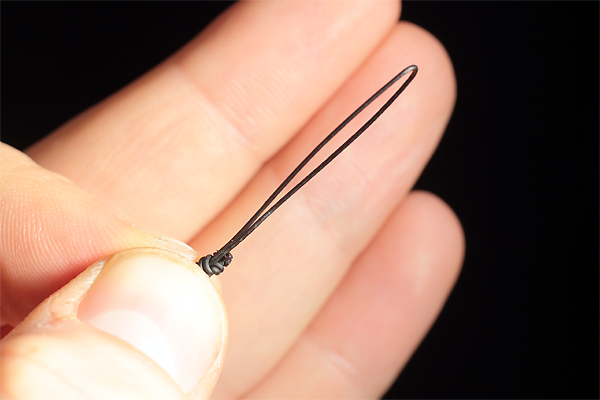
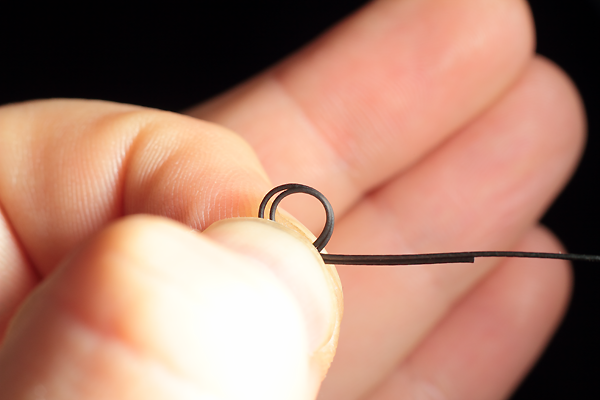
STEP TWO: Feed one of our size 12 rig swivels onto the double over section of coated braid and then create a fold in the coated braid, aim to make the looped end around 15mm in length as shown below.
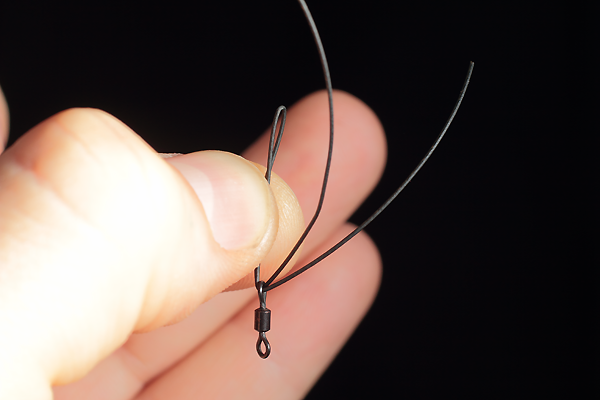
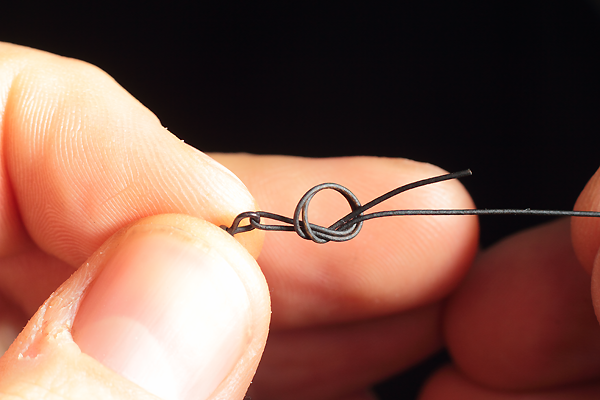
STEP THREE: With the swivel in the fold we have just created we are going to tie a one turn grinner knot. Gripping the swivel between thumb and forefinger create a loop as shown below and take the two tag ends around the long loop and through the new loop. (You an do a couple more turns if you'd rather use a two or three turn grinner)
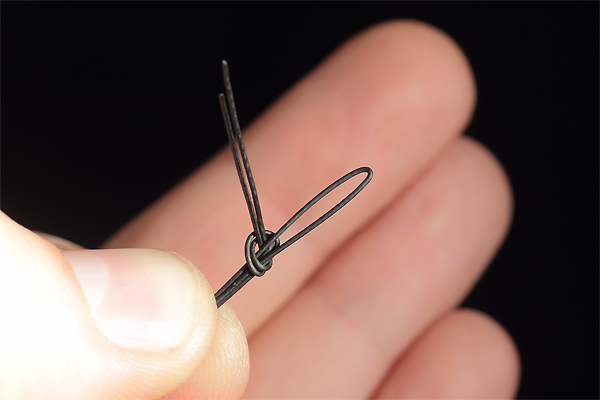
STEP FOUR: Pull on the tag ends to ease the grinner knot down fairly tight, then using your knot puller tool in the main loop tease the grinner knot down to the swivel. As you slide the knot towards the swivel this will increase the length of your Multi rig section which is why we specified starting at around 15mm

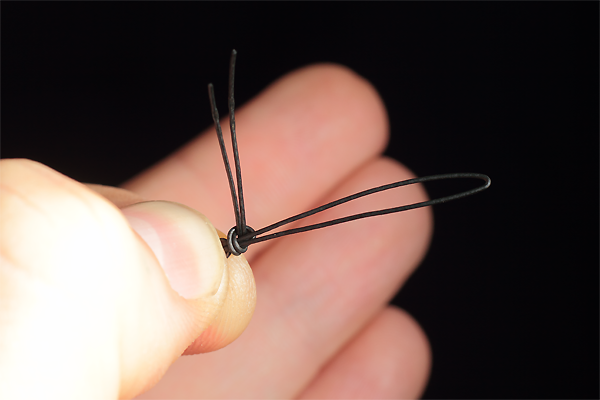
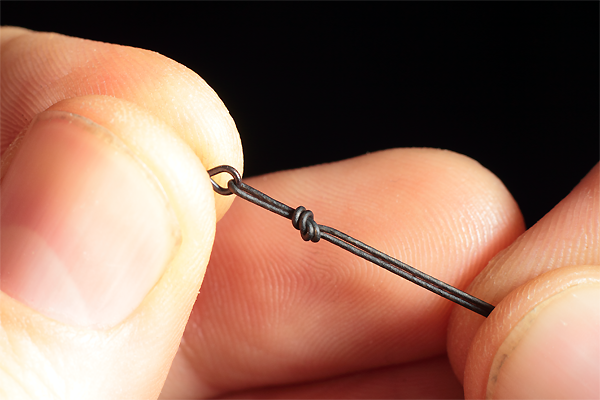
STEP FIVE: With your knot puller tool in the loop bed the grinner down tight onto the swivel. You may also need to pull on the tag ends to ensure the knot is fully tightened.
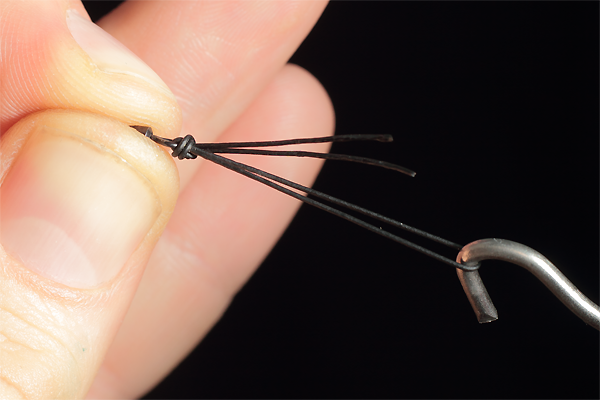
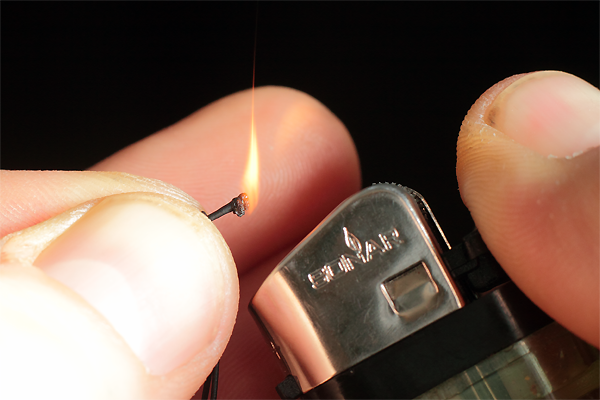
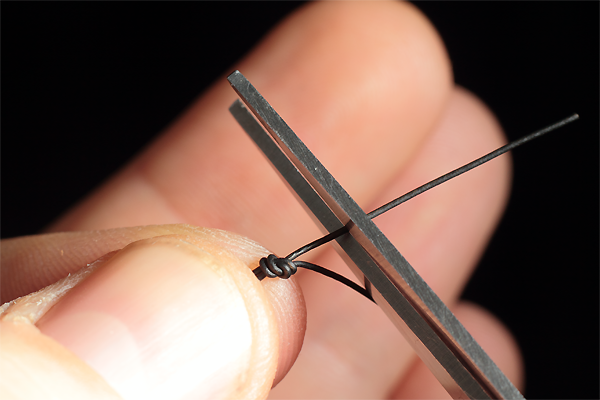
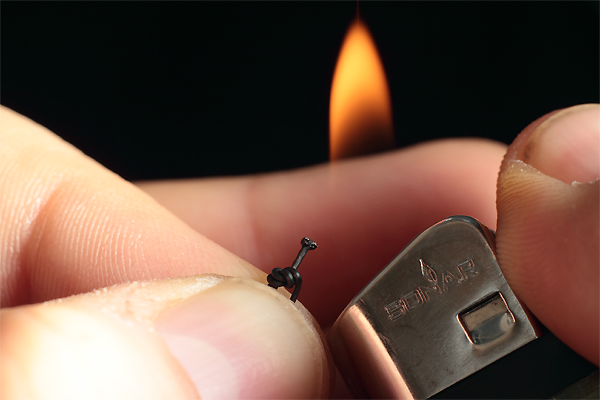
STEP SIX: With the multi rig loop created and the grinner knot tightened down, trim the tag ends down to around 5mm and using a lighter on a low flame carefully melt them down till they're close to the knot and use a wetted finger to blob them. The multi rig end section of your Hinged multi rig is now finished ready to take your Chod hook and bait mounting.

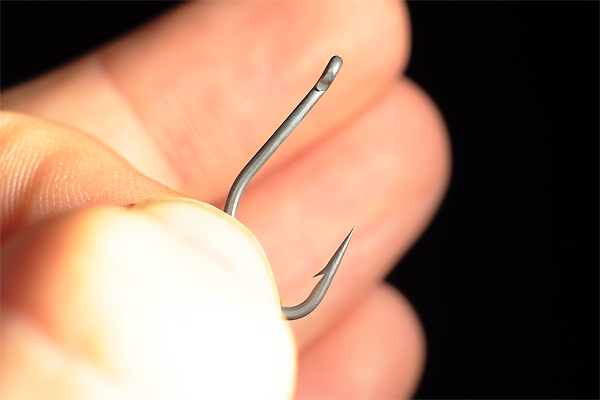
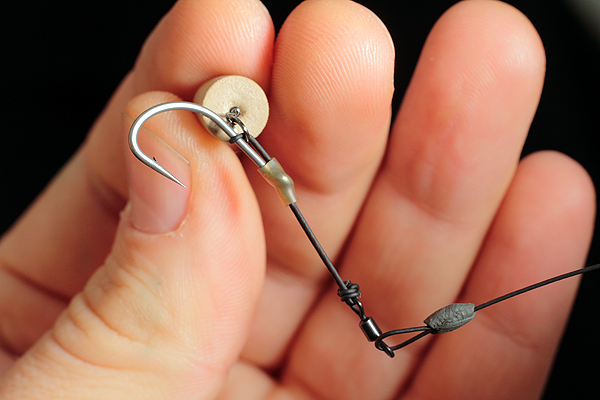
STEP SEVEN: Take your Chod hook, in this case one of our Size 5 Duropoint Chod's and pass the multi rig loop through the eye so it exits at the back of the hook, then add your chosen bait mount, here we use one of our micro hook ring swivels but you can use a rig ring, bait screw or even another Size 12 rig swivel.
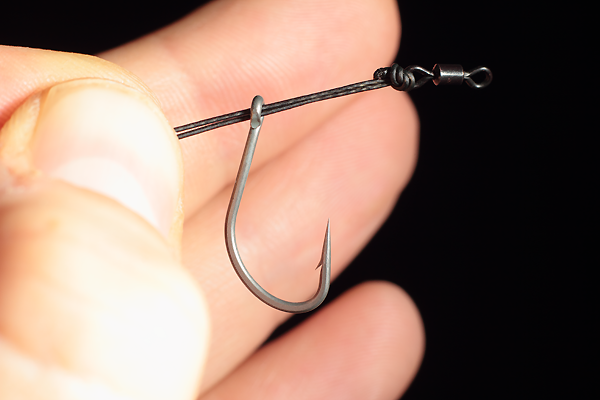
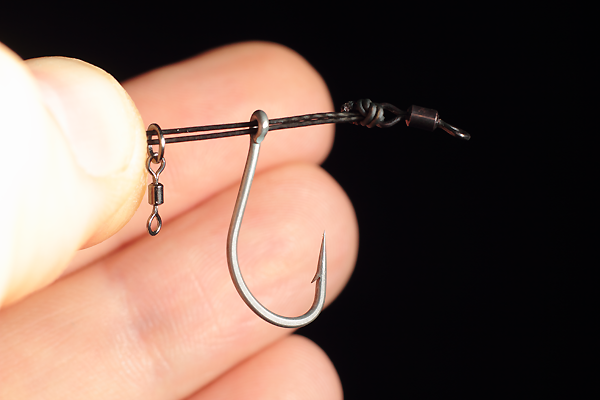
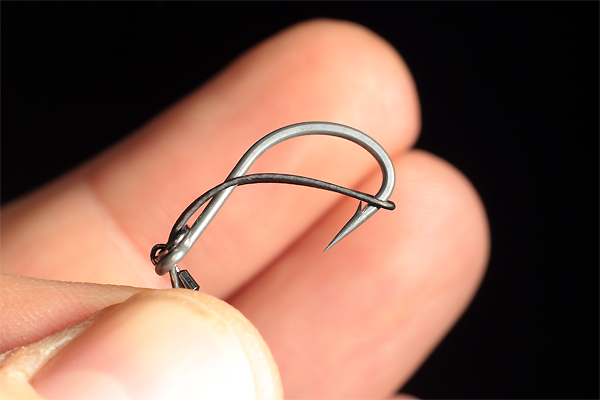
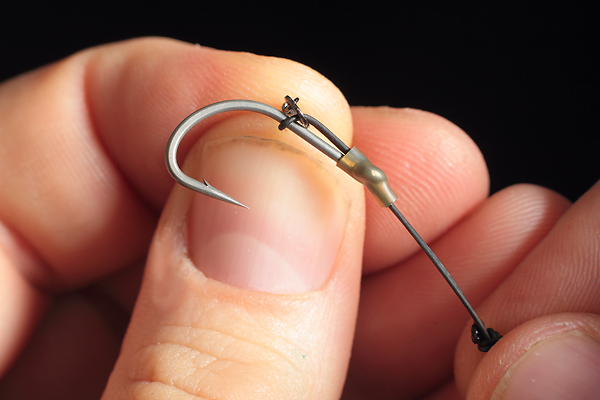
STEP EIGHT: Pass the multi loop over the bend of the hook and then over the point so that the end of the loop is trapped on the inside of the bend as shown below. Then Holding the rig swivel pull the multi loop back through the eye of the hook until a fairly small "D" is created.
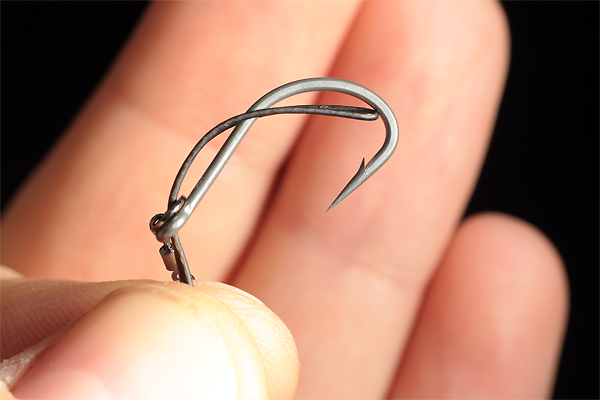
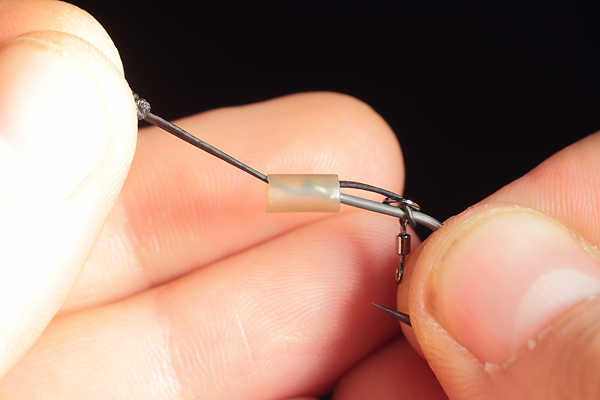
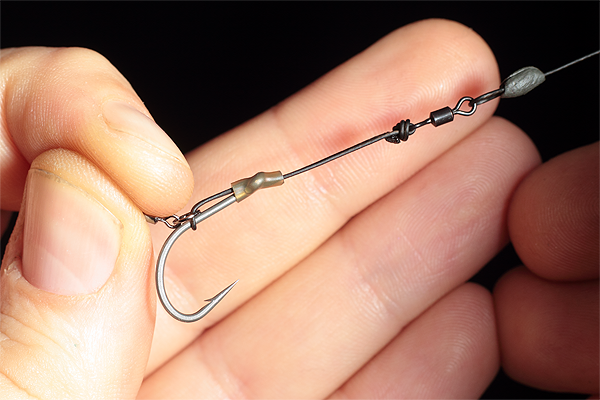
STEP NINE: I like to use a little shrink tube on my multi rigs to ensure the "D" doesn't close up too easily, however its not strictly necessary, particularly if using a thick coated braid that is snug inside the eye of the hook. So skip this step is you're not using a piece of shrink tube.
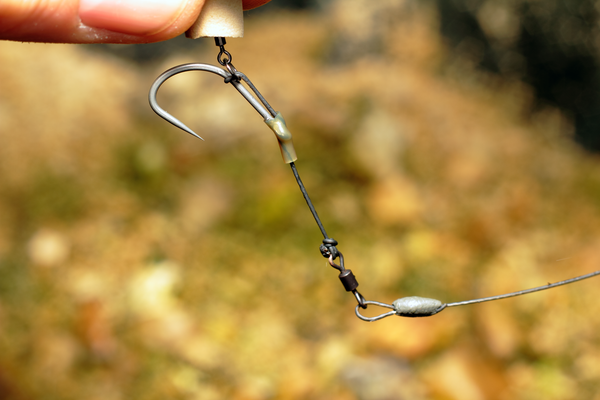
If you are using some shrink tubing pass it over the rig swivel and onto your multi rig end section until it just covers the eye of the Chod hook before steaming it down. The end section of the Hinged Multi rig is now complete. (Incidentally you can also use this end section in place of standard Chod rigs, with the advantage being you can easily change your hook over should you wish to)
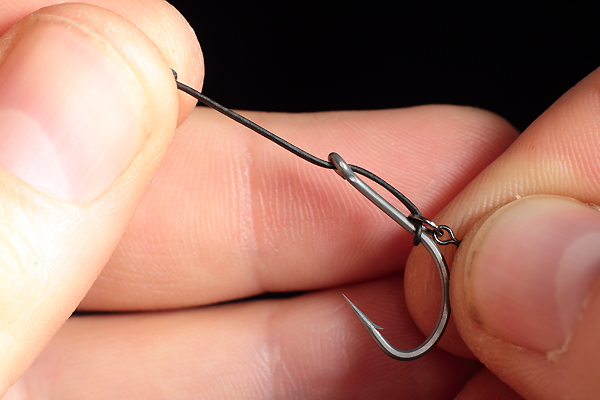
STEP TEN: Take another length of your chosen stiff coated braid, it needs to be the length you want your finished rig to be plus around another 4 inches. Feed your finished Multi end section onto the stiff coated braid and double over around 1.5 inches
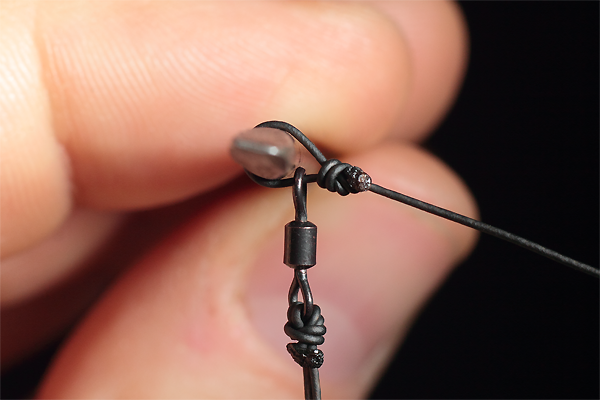
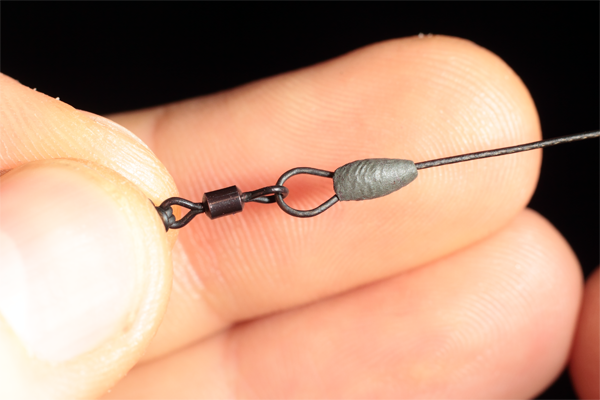
STEP ELEVEN: With the swivel in the fold of the doubled over section we have just created we are now going to create a simple overhand loop with the boom section, (you could equally use a figure of eight loop)
STEP TWELVE: Moisten the loop and tease it down towards the rig swivel, we like the finished loop to be fairly small and neat like shown below. Now trim the tag end to around 5mm before carefully melting and blobbing it with a lighter.

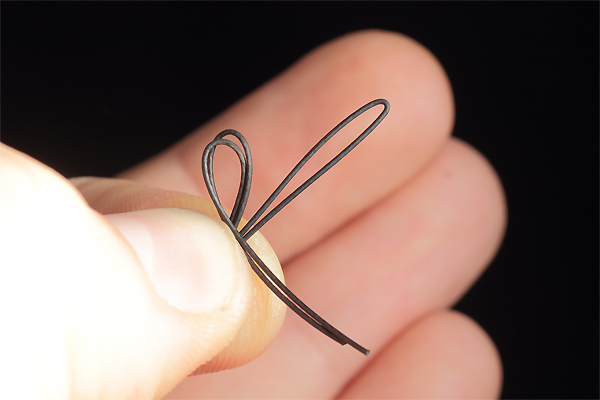
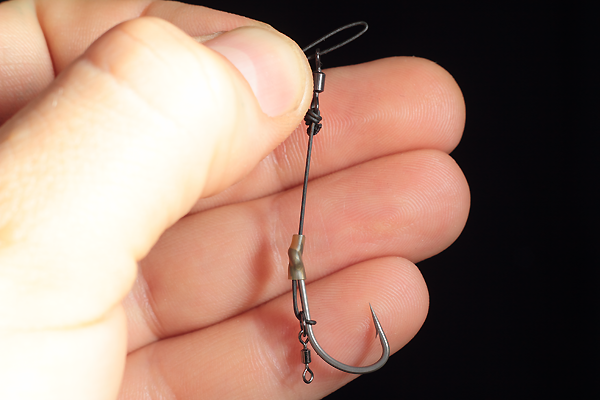
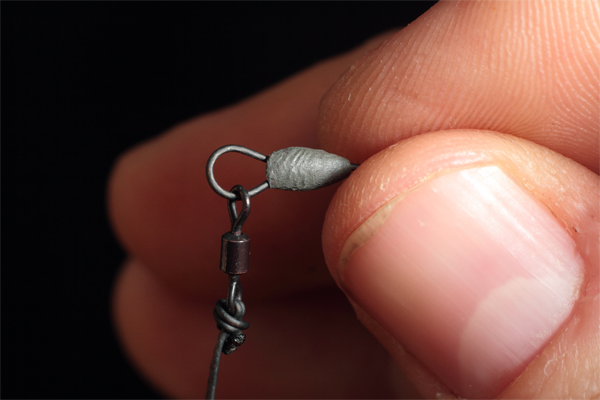
STEP THIRTEEN: Now we're going to form a nice round loop and steam it into shape. Take something with a round profile and pass it into the loop you have just created, a loop forming tool is great for the job but a small screwdriver will do the job equally well. Now with the tool still in place steam the loop so it holds its shape once the tool is removed.
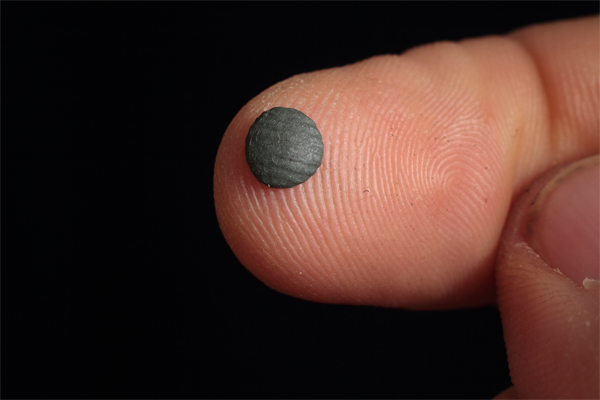
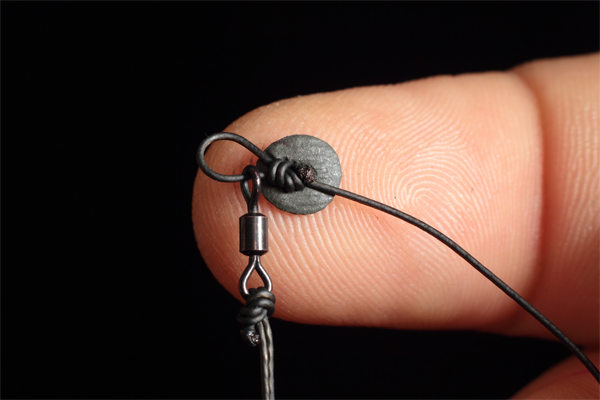
STEP FOURTEEN: Take enough putty to balance your chosen popup. Roll it into a ball before squashing it into a small disc between your thumb and forefinger. Next press the knot of the overhand loop we just made into the putty before moulding the Putty neatly around the knot.
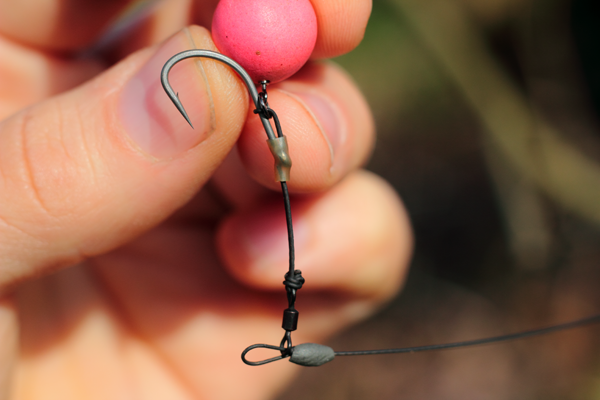
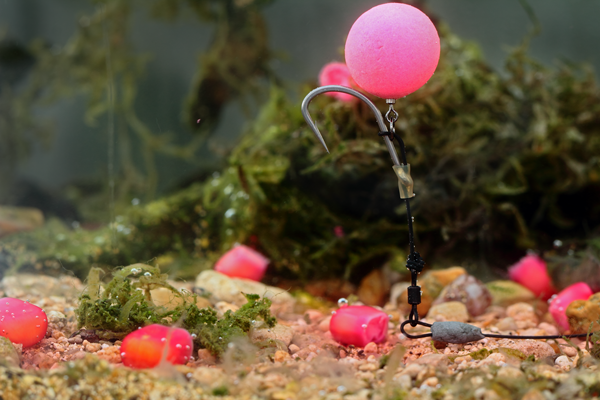
STEP FIFTEEN: That's your Hinged Multi rig just about done, all that's left is to do is steam the boom section nice and straight and attach it to the appropriate swivel for your chosen lead arrangement. I like to fish it on a helicopter setup so create a 2 inch long figure of eight loop at the other end of the boom section to attach to a size 11 Quick change heli ring swivel.
The finished Hinged Multi rig is a superb big carp rig that combines all the best attributes of the Stiff hinged rig and the Multi rig to create a real winner. The size 12 rig swivel and loop formed in the boom section with the putty placed on the knot means the rig is neat, subtle and very responsive, turning immediately and freely when sucked at by big carp.